Set up your Validator or Collator
Introduction
This document outlines the common steps required to set up a Validator or Collator for a Substrate network (Polkadot and it's parachains) in OnFinality. Each network is different, so this guide should be used alongside the official documentation for the network you are running the dedicated node for.
Validators
Validators secure the Relay Chain by staking DOT, validating proofs from collators and participating in consensus with other validators.
These participants play a crucial role in adding new blocks to the Relay Chain and, by extension, to all parachains. This allows parties to complete cross-chain transactions via the Relay Chain.
Collators
Collators maintain parachains by collecting parachain transactions from users and producing state transition proofs for Relay Chain validators. In other words, collators maintain parachains by aggregating parachain transactions into parachain block candidates and producing state transition proofs for validators based on those blocks.
…
Unlike validators, collator nodes do not secure the network. If a parachain block is invalid, it will get rejected by validators.
-https://wiki.polkadot.network/docs/learn-collator
Useful Links
https://wiki.polkadot.network/docs/learn-staking
https://wiki.polkadot.network/docs/maintain-guides-how-to-validate-polkadot
Network Specific Guides
Disclaimer
Running a Collator or Validator comes with a high risk and requires a high level of technical knowledge and skill. As per our Terms of Service, OnFinality is neither responsible for any rewards nor losses, such as from slashing, incurred when running a Validator or Collator node on OnFinality. Users should read and fully understand the relevant documentation for the Network before setting up the node, and get in touch directly with the Network if they have any questions or concerns.
Common Steps
The following example sets up a Validator on the Polkadot Relay Chain, using the Polkadot documentation as a guide. Consult the official documentation for your chosen network as steps may vary.
1. Create Dedicated Node
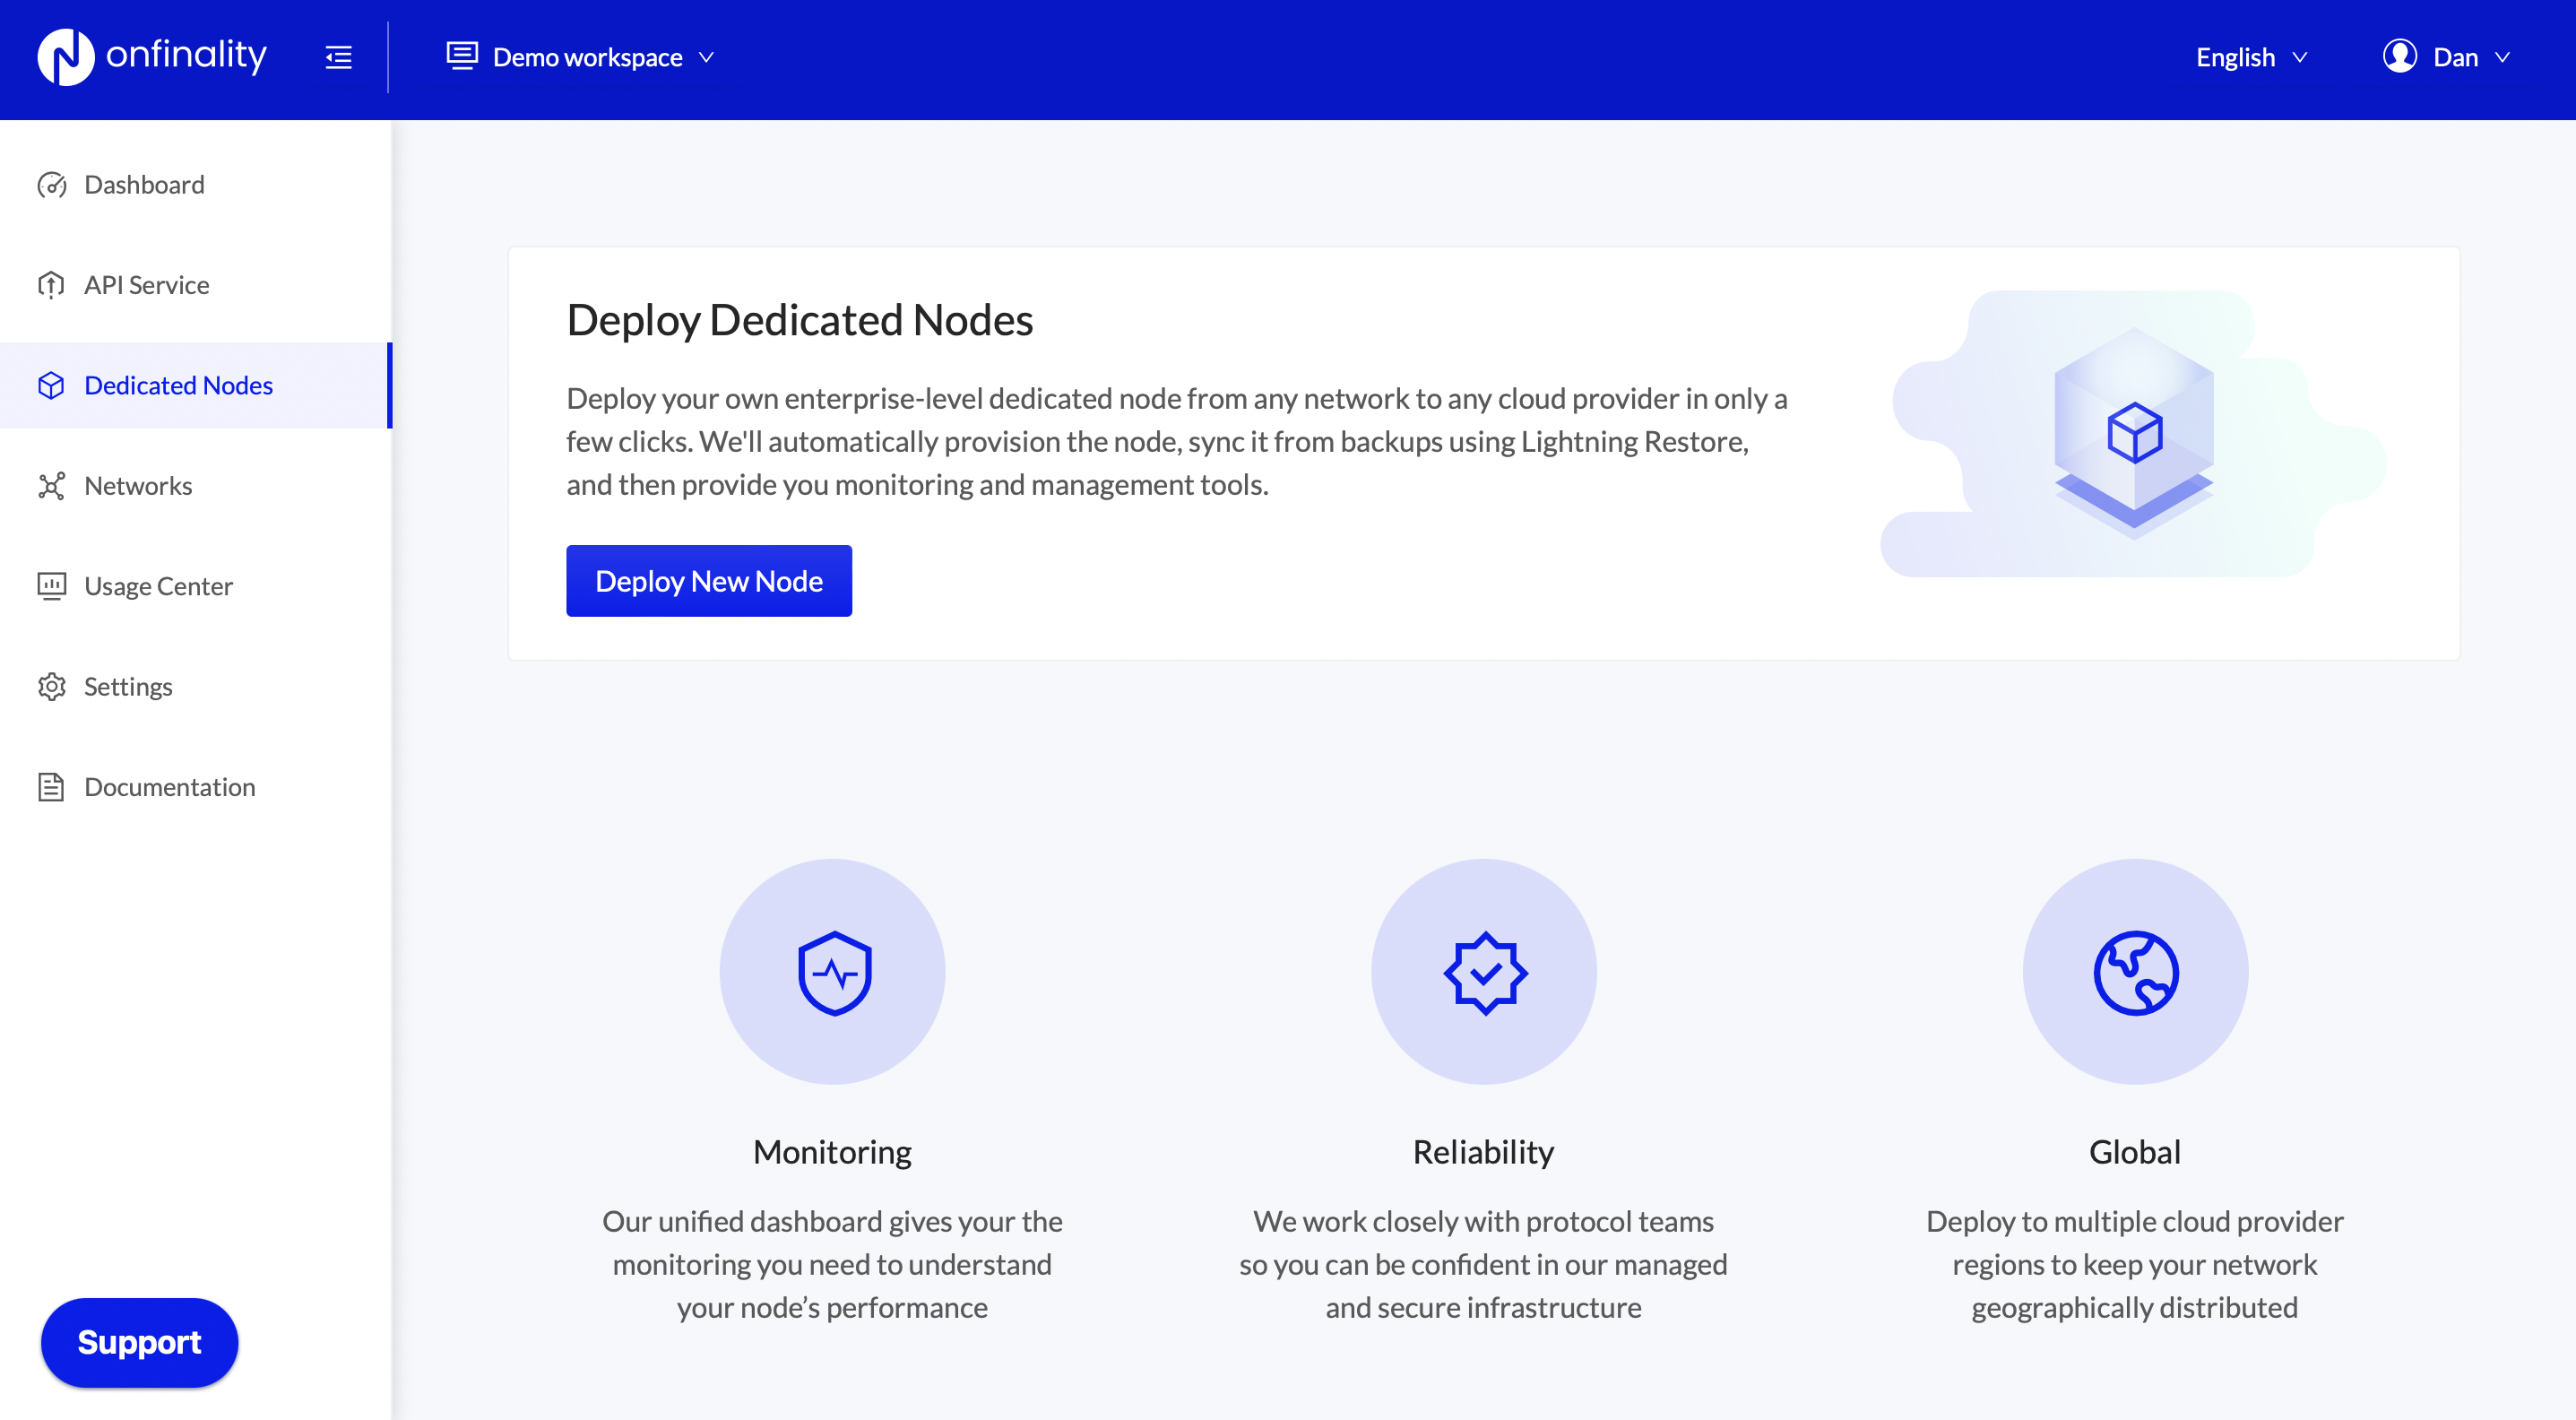
After logging in to OnFinality, select the Dedicated Nodes menu and press Deploy New Node
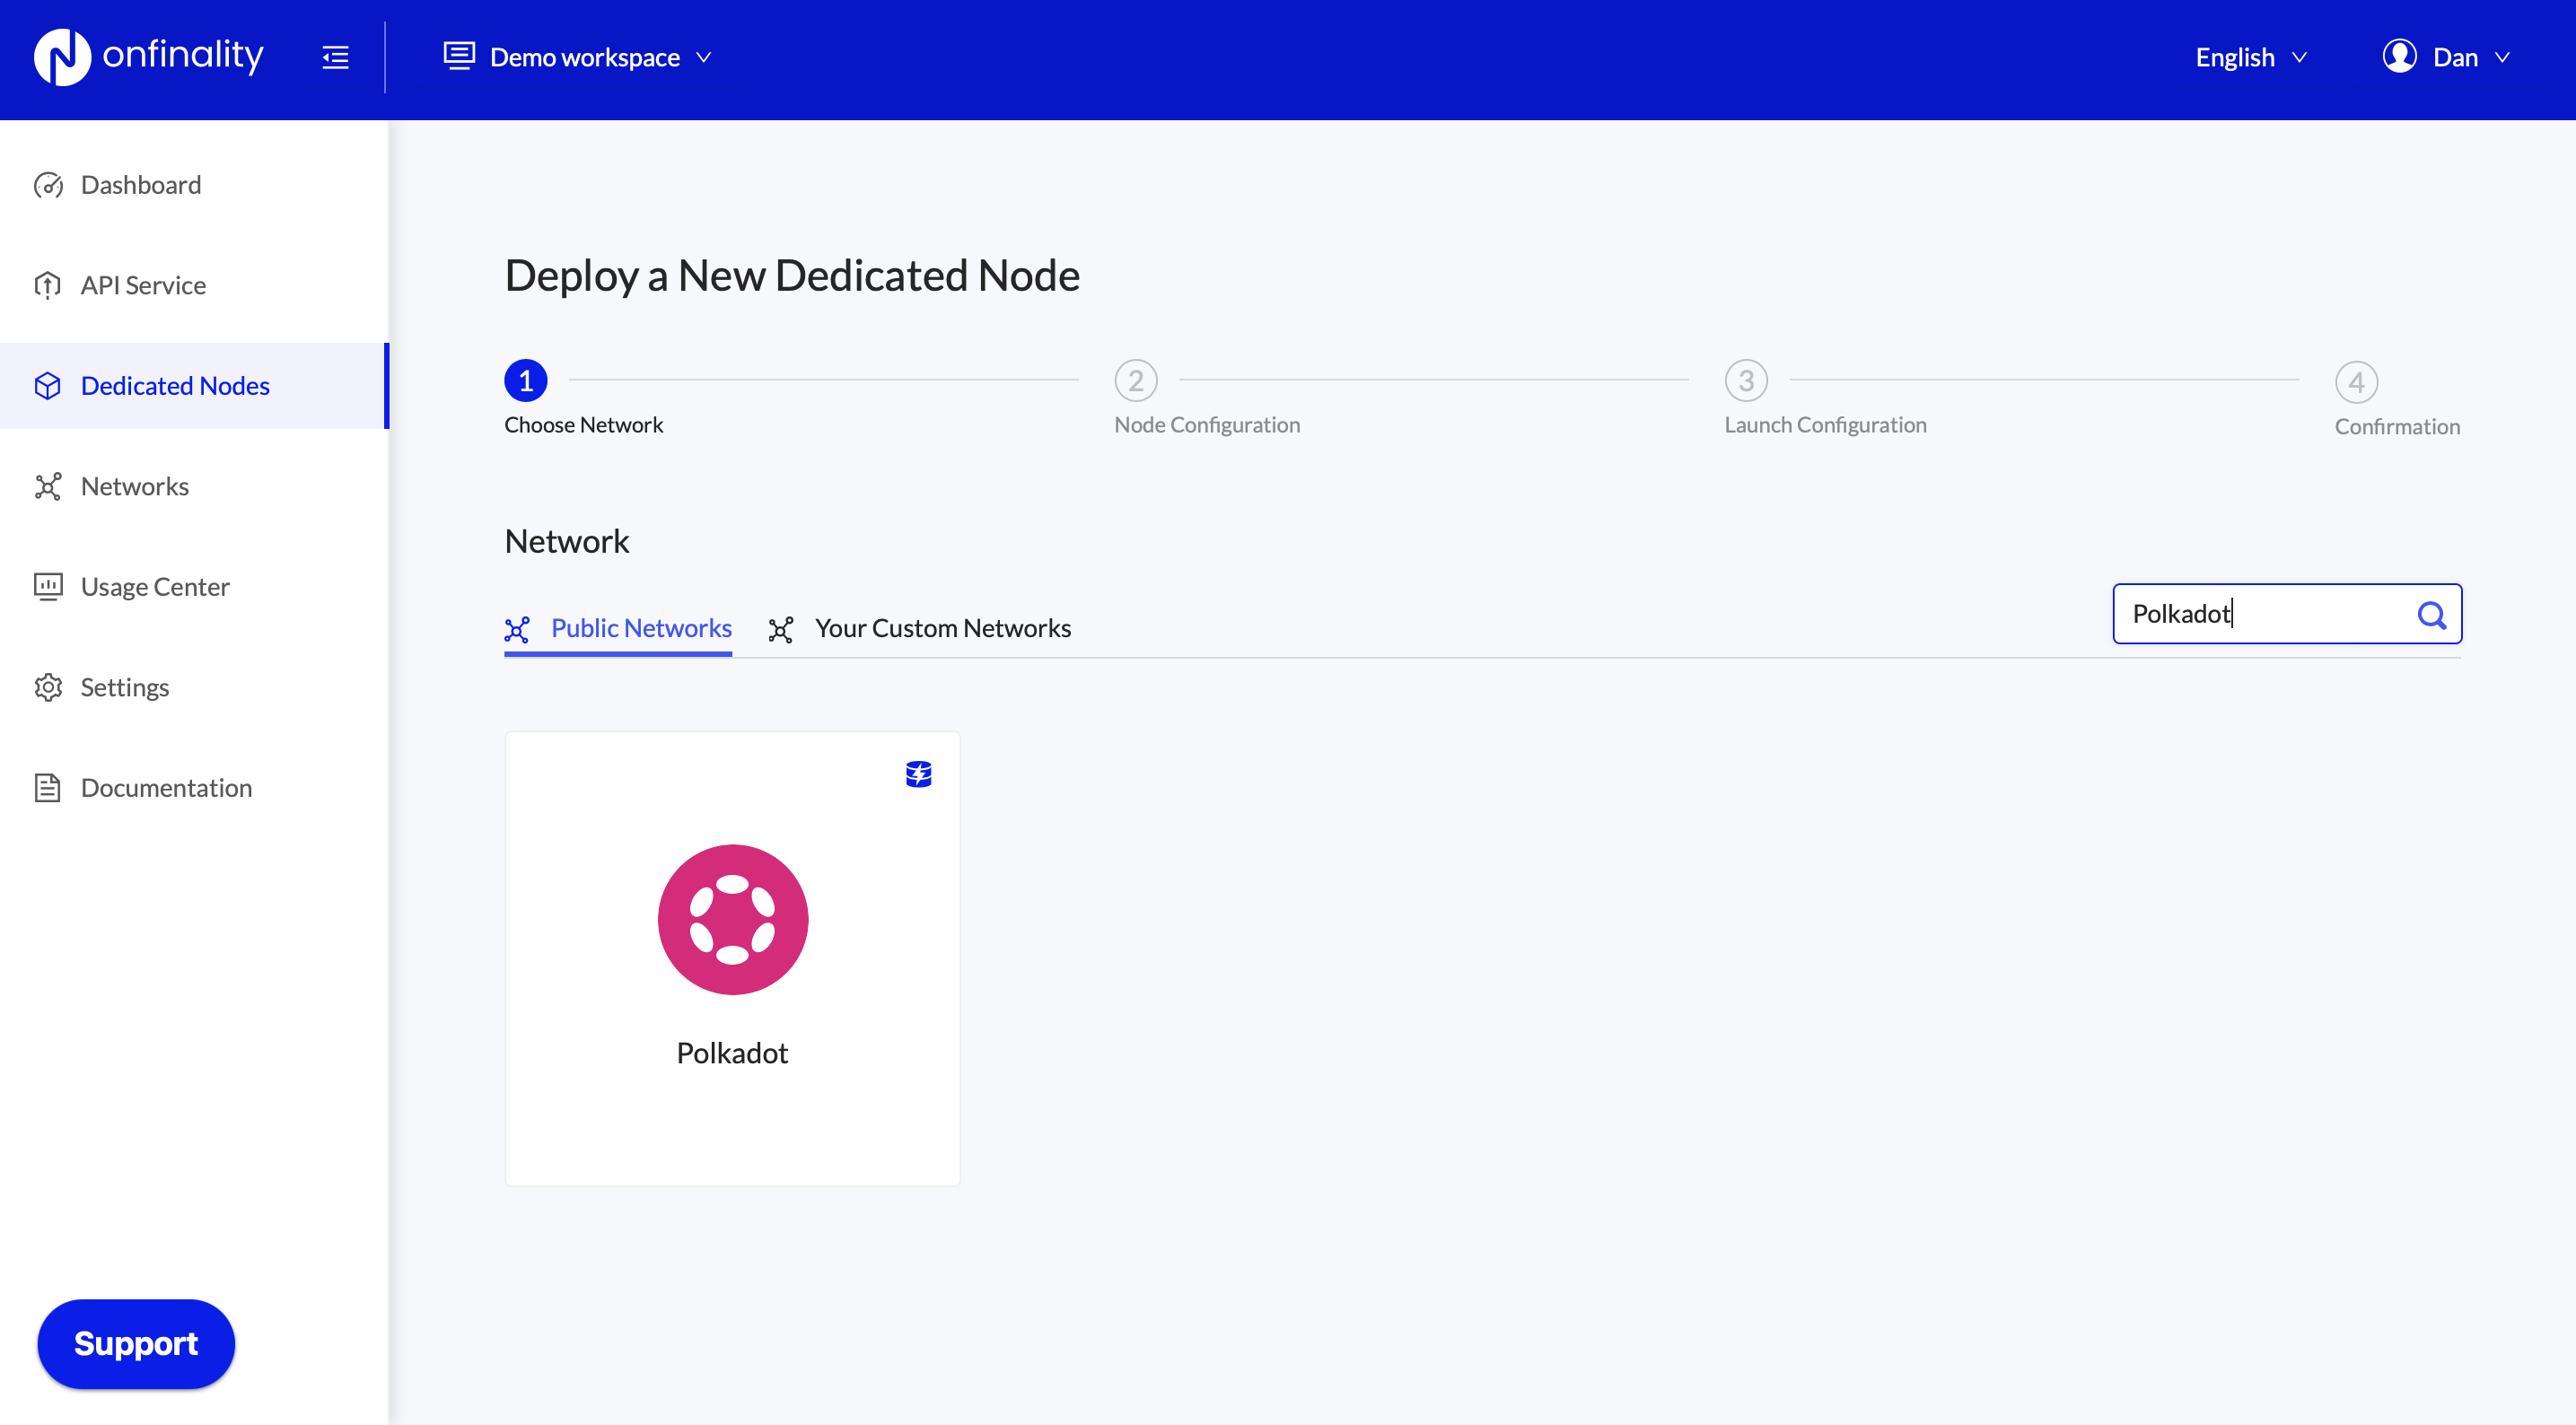
Select the Network that you wish to run the node for
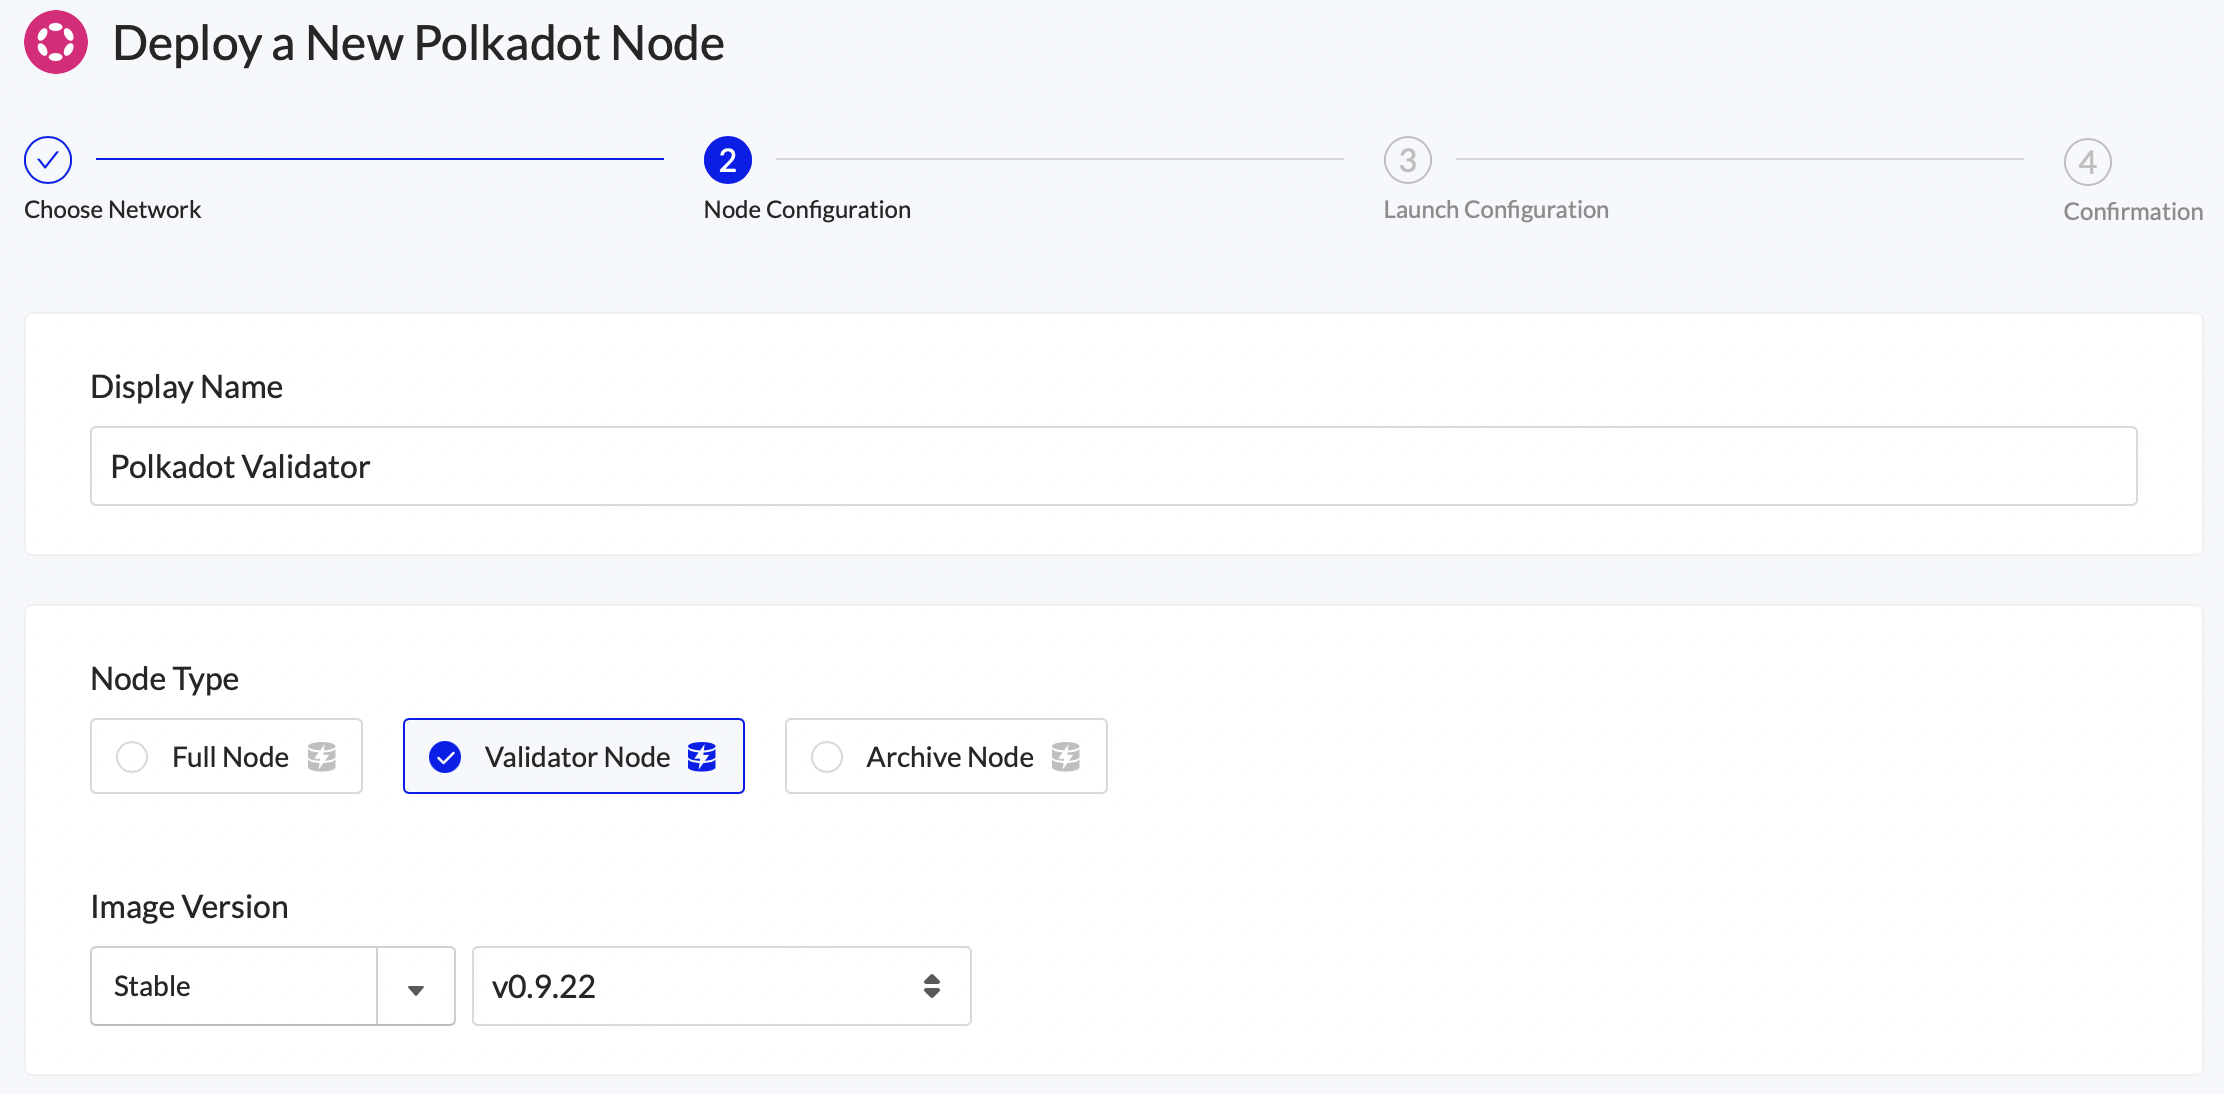
Select Node Type “Validator Node” for Relay Chains or “Collator Node” for Parachains.
Next, select the cloud provider and region where you will run the node. Networks may have a preference of where you should run your validator or collator, so check with their official documentation.
Look out for the Lightning Restore indicator to get the node running as fast as possible.
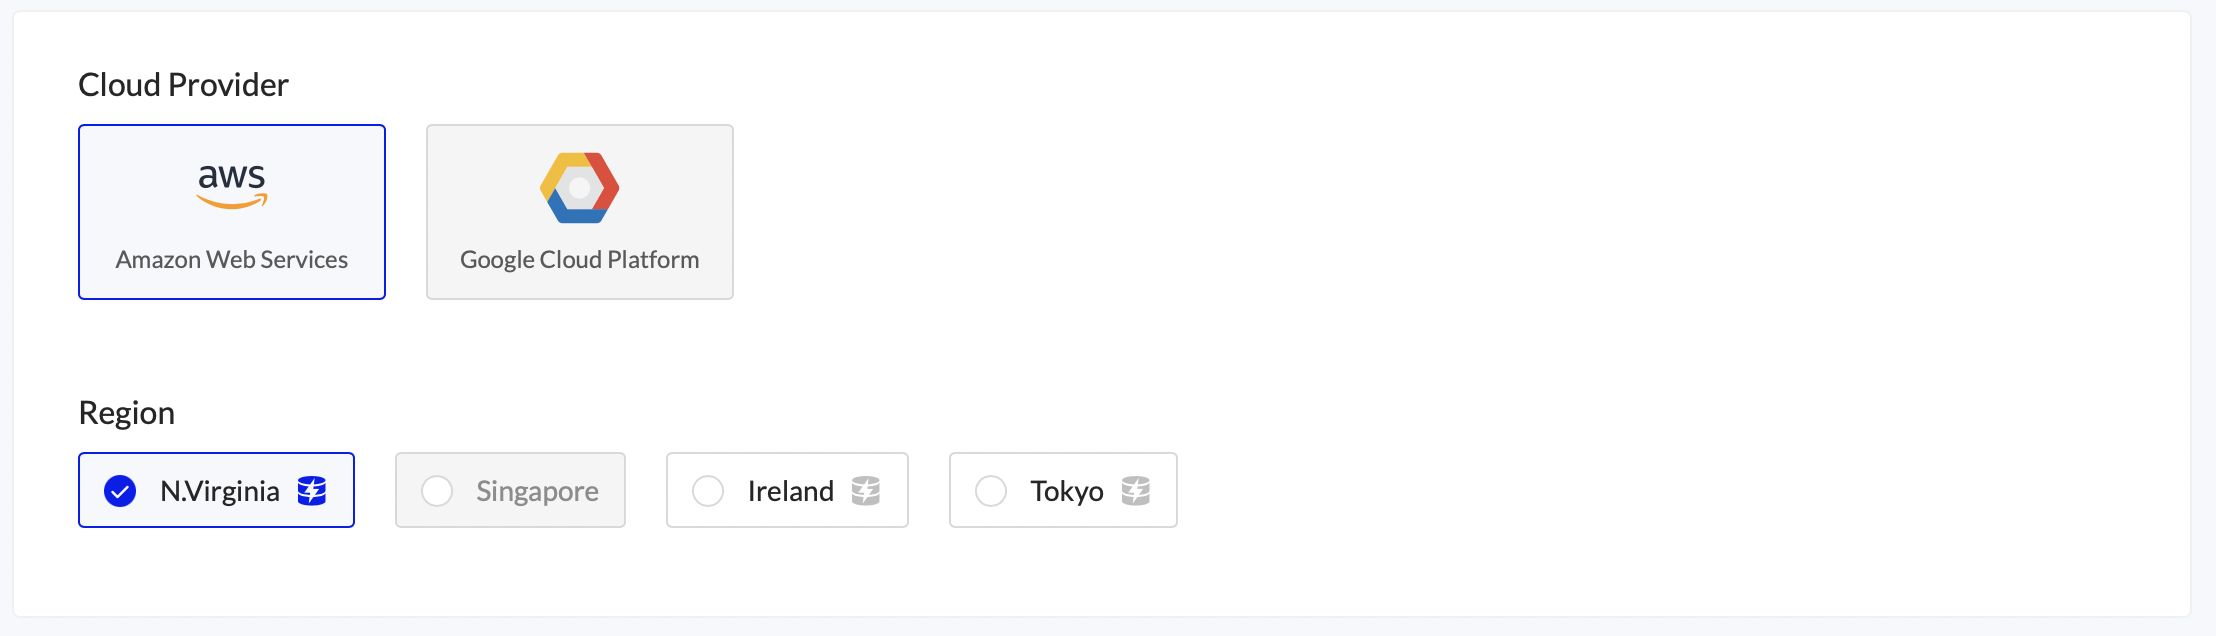
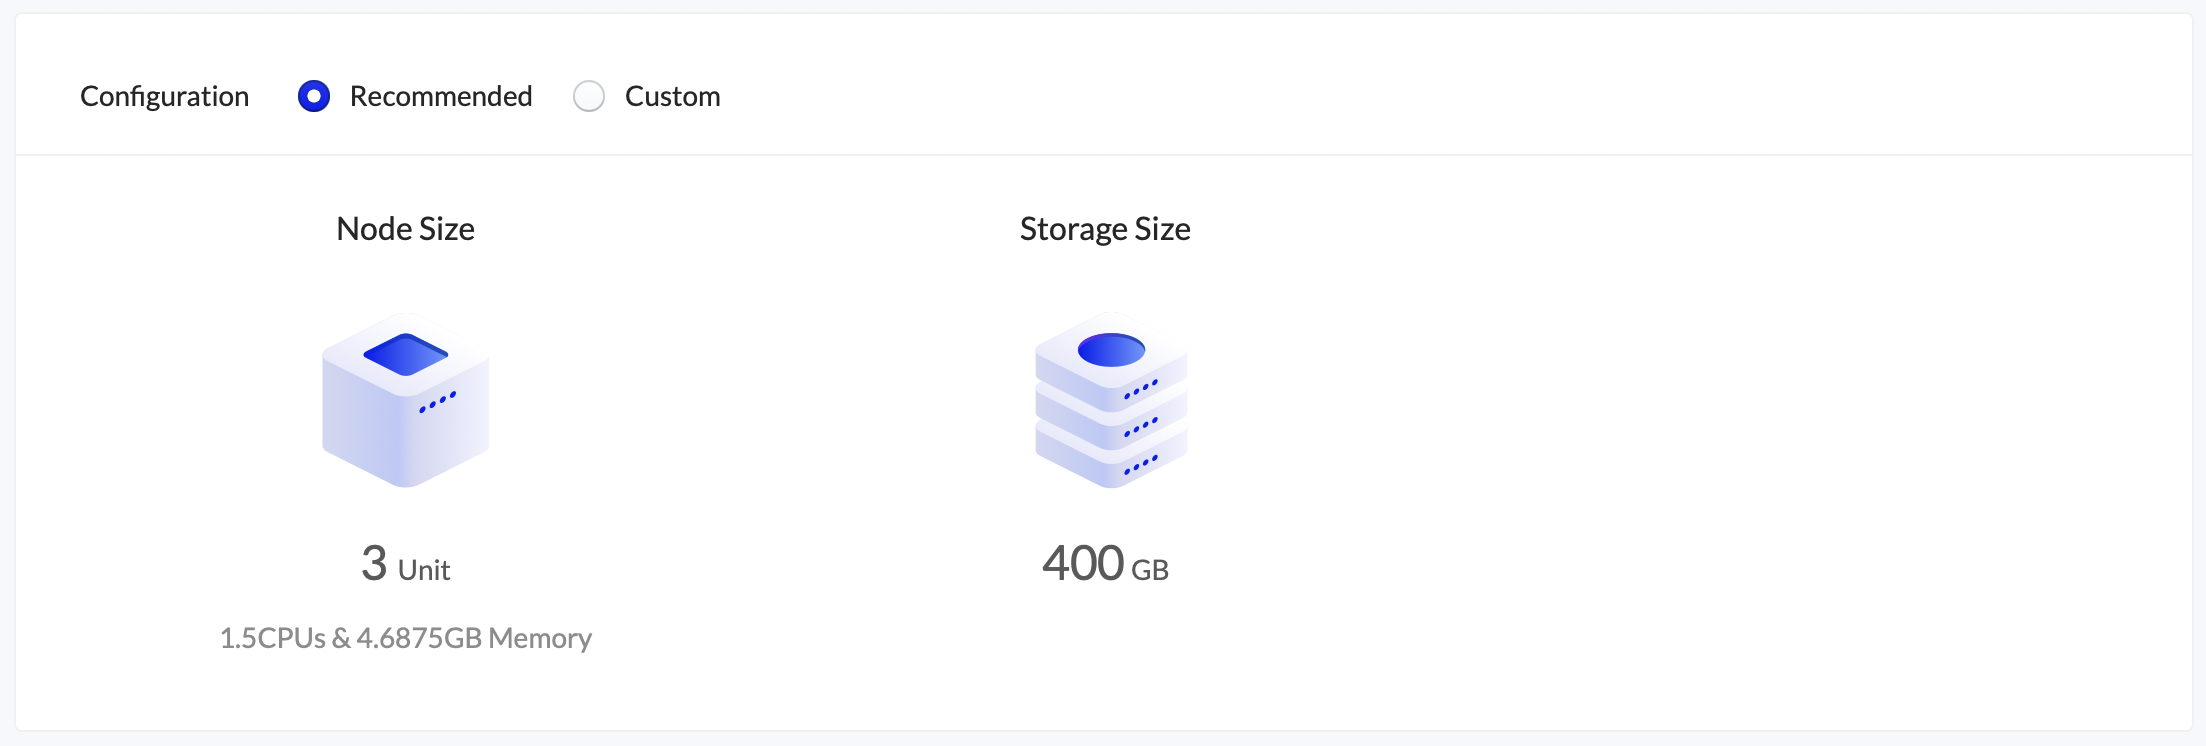
Use at least the recommended configuration suggested by the network.
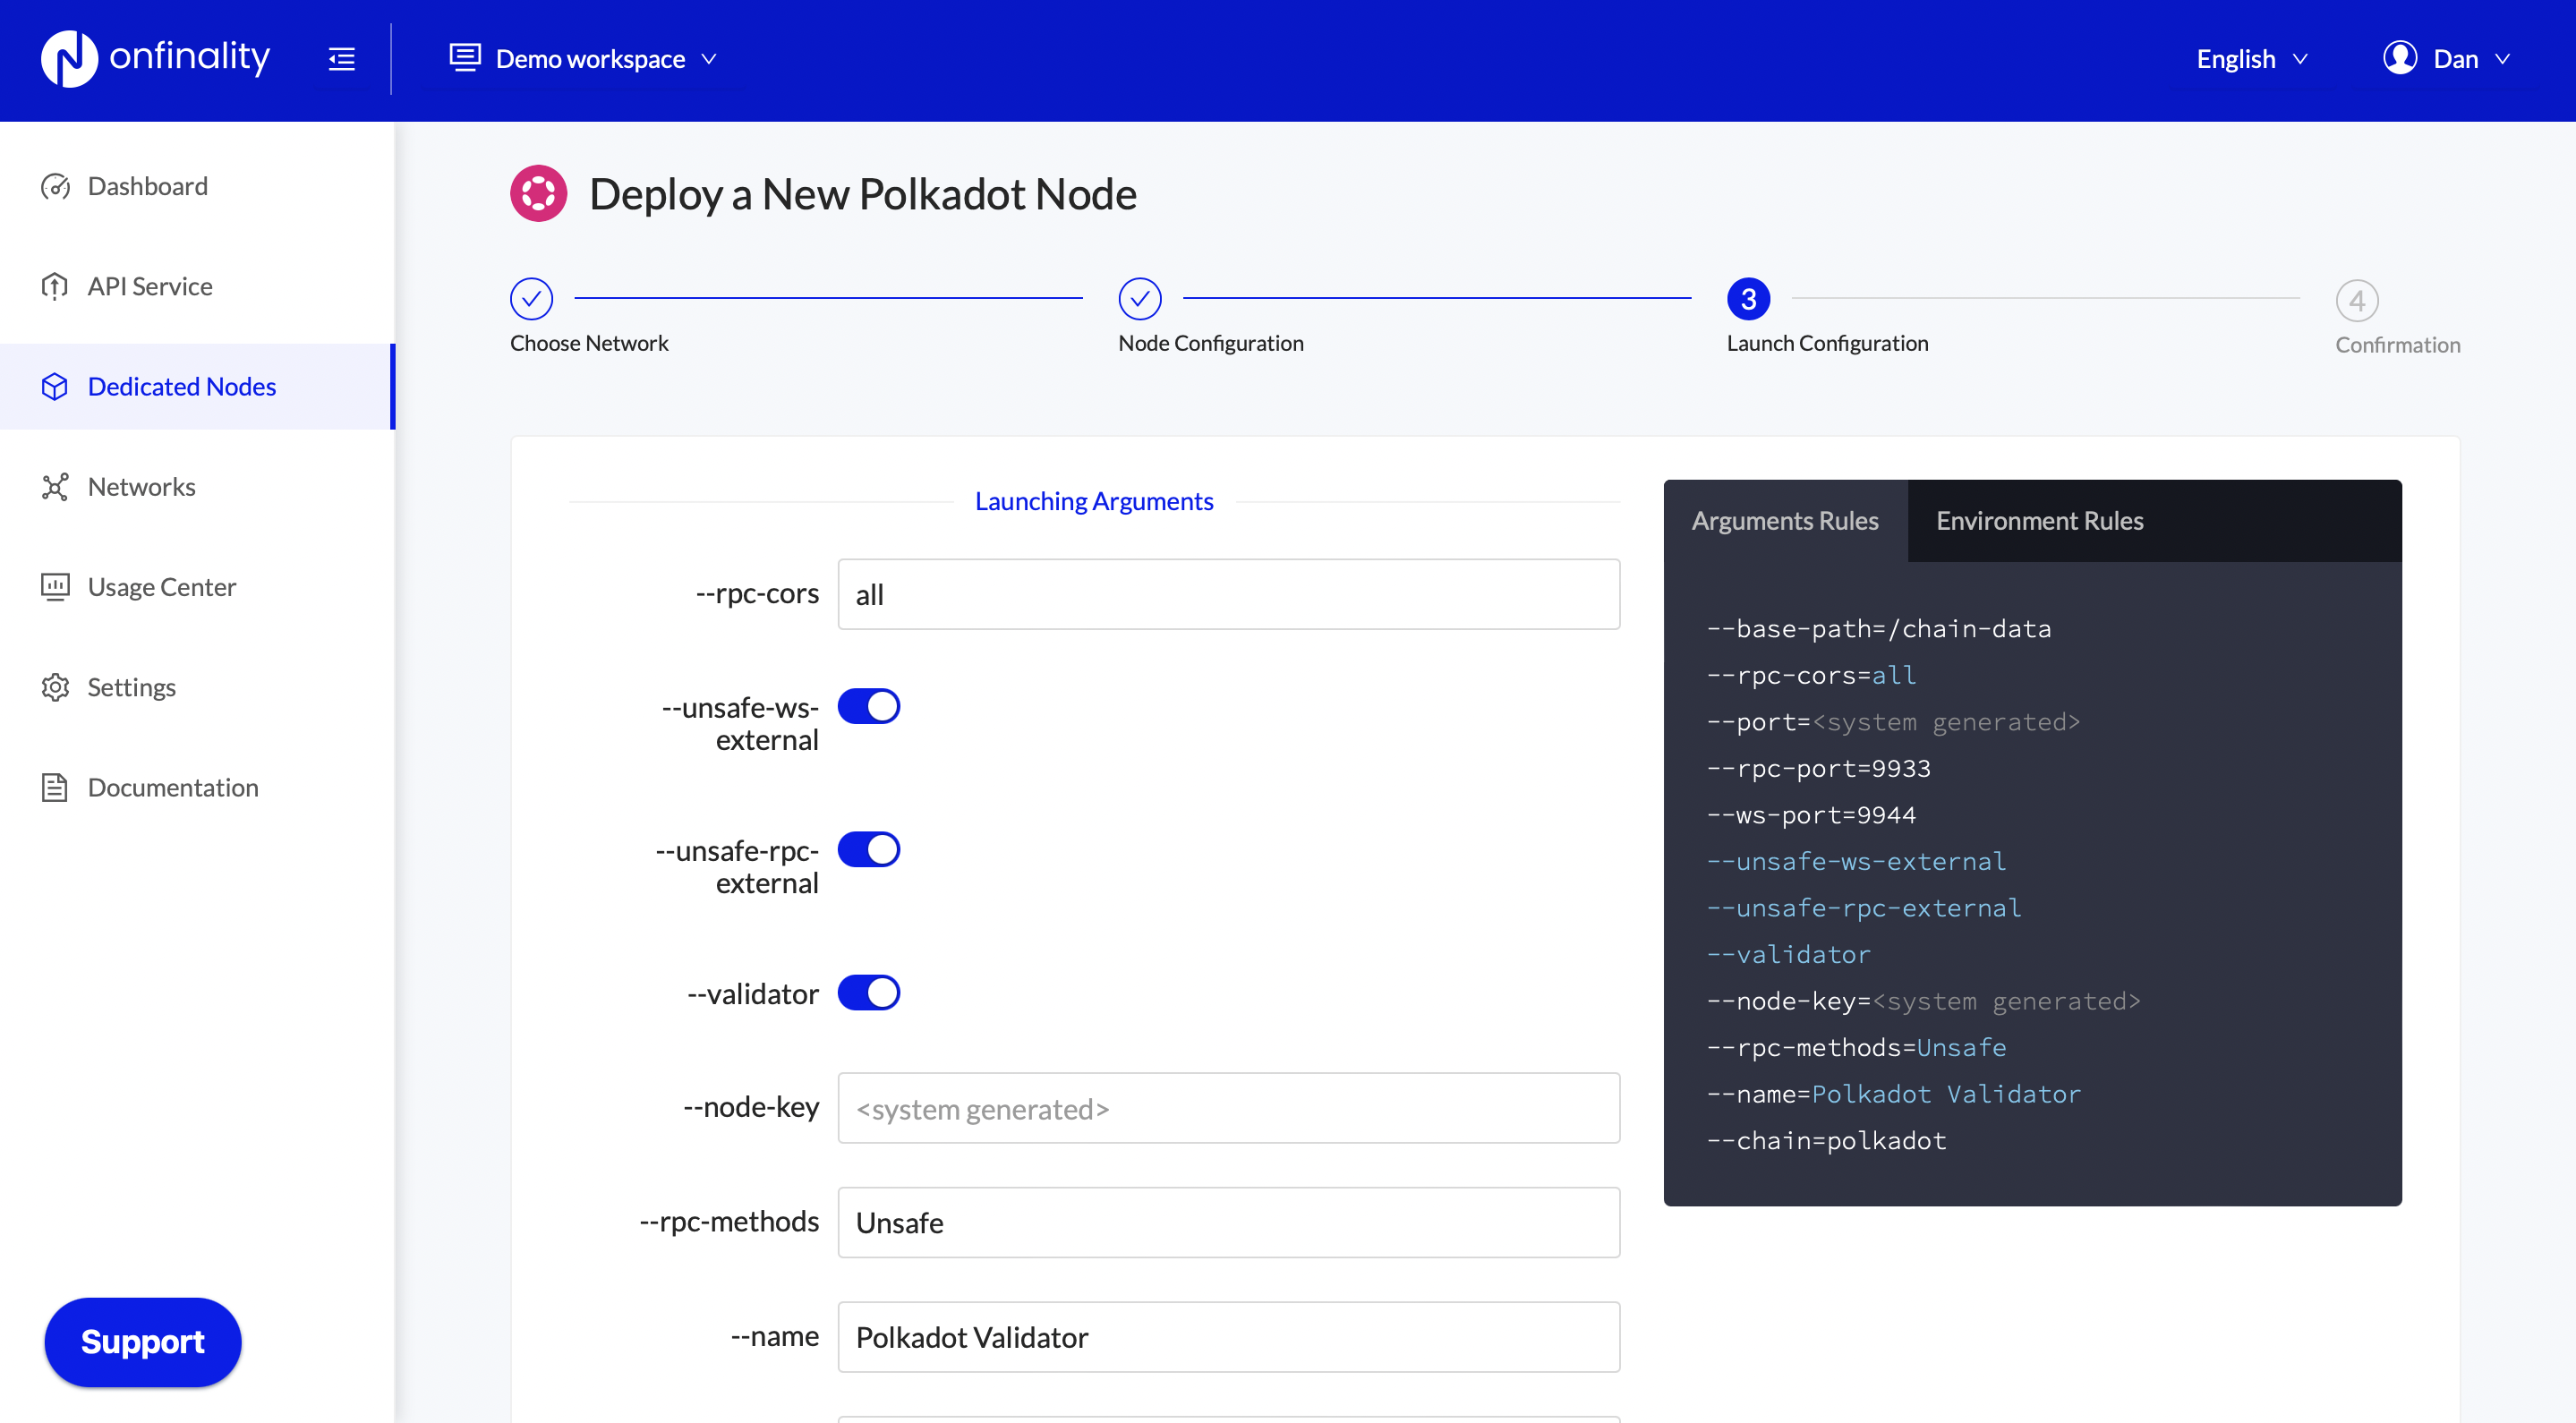
Next, review the node’s Launch Configuration. The recommended settings are usually sufficient
Finally, review the node’s settings and press Deploy Node

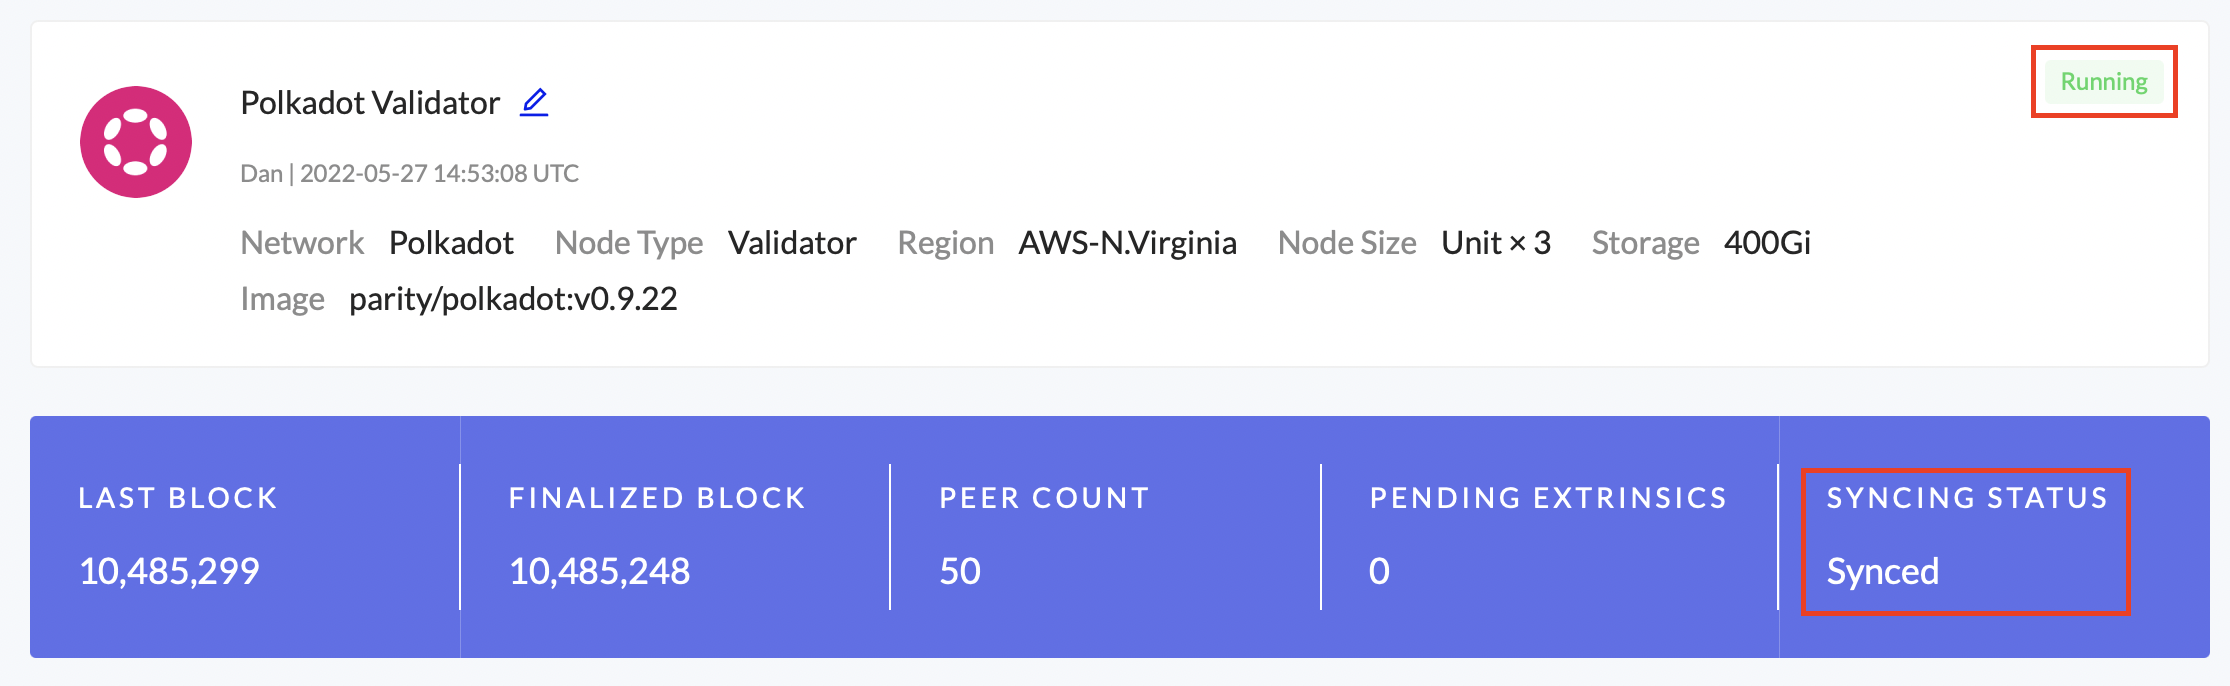
Wait for the node to initialise and fully sync before continuing.
See Deploy a Dedicated Node for detailed instructions.
2. Set up Controller Account (Validator Only)
Controller accounts separate from your Stash account help to keep your stake safe. This is not yet available on parachains/collators.
This account acts on behalf of the Stash account, signalling decisions about nominating and validating. It sets preferences like payout account and commission. If you are a validator, it also sets your session keys. It only needs enough funds to pay transaction fees.
-https://wiki.polkadot.network/docs/learn-staking#accounts
Polkadot official instructions: Bind DOT from your stash account to the controller
3. Generate Session Keys
Session keys are what links the validator or collator to your account.
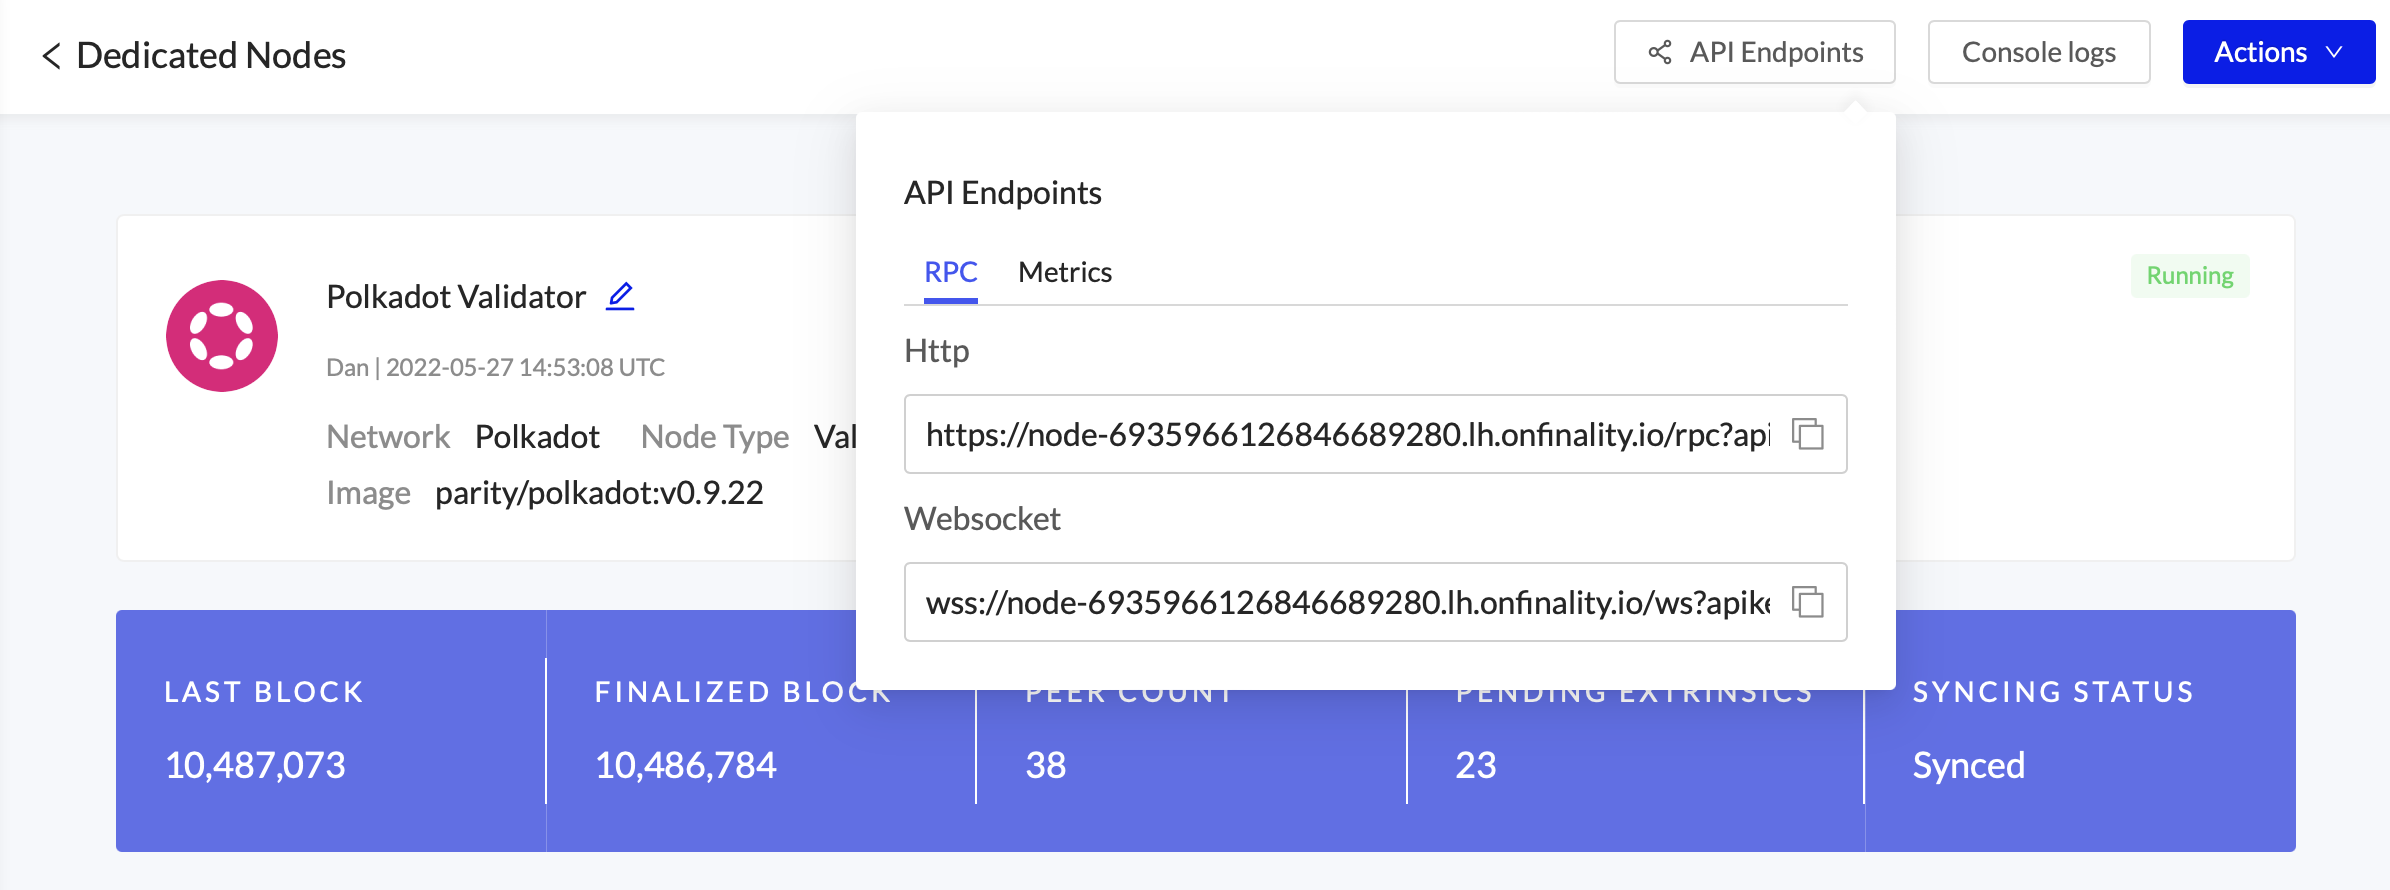
First, locate your Dedicated Node’s RPC urls under API Endpoints. Access is secured by an API Key at the end of the URL, so keep it safe and private.
Option 1 - Polkadot-JS:
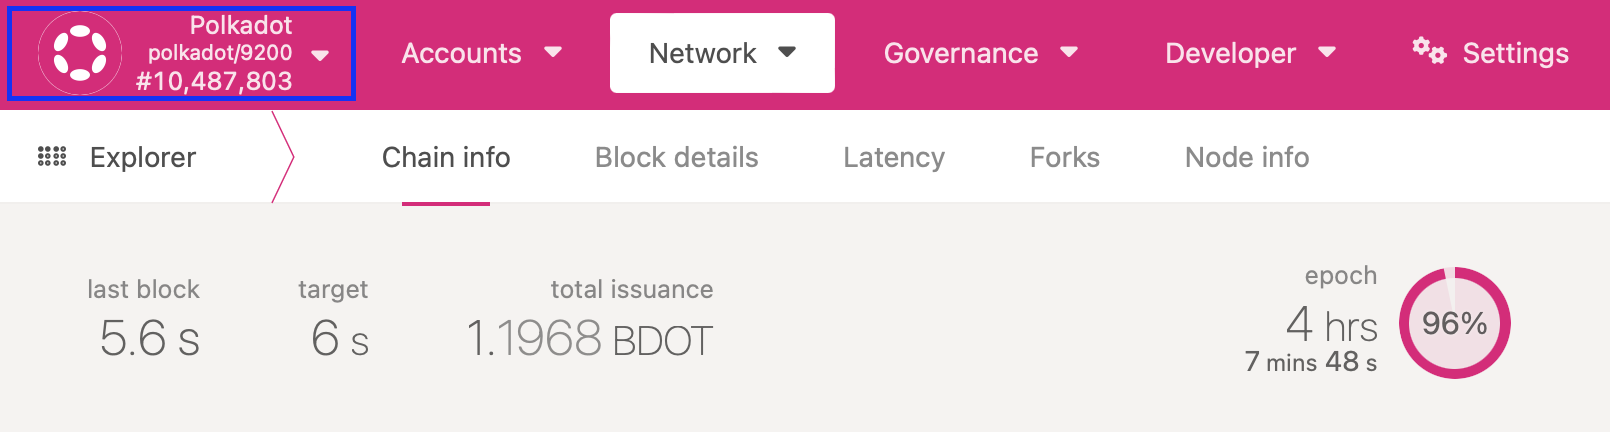
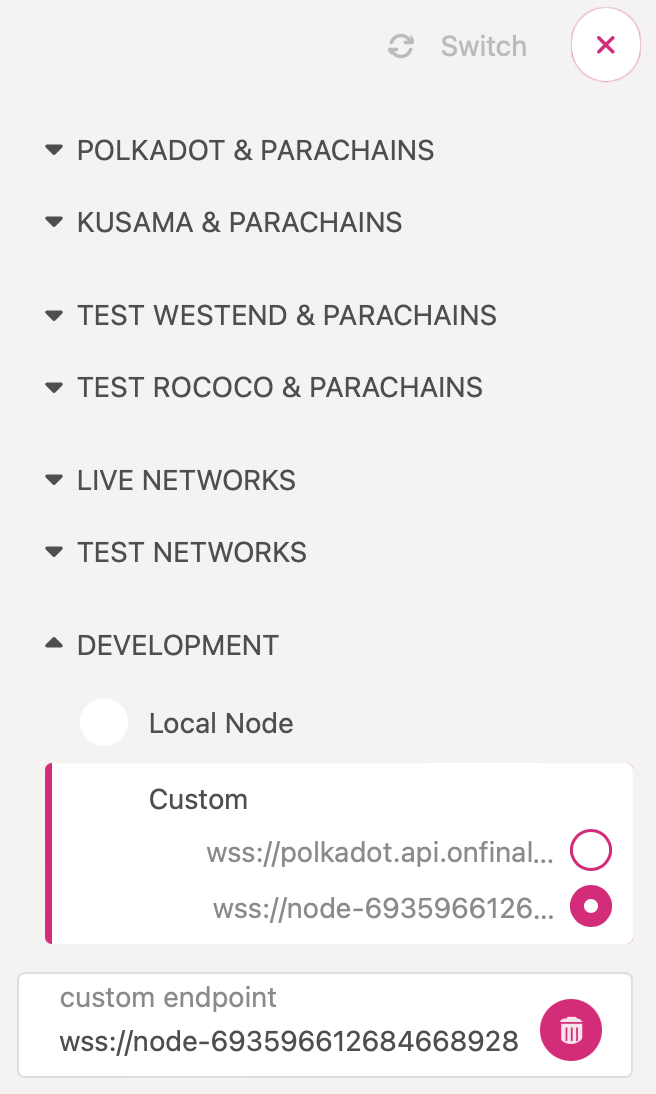
Copy your RPC Websocket endpoint into Polkadot-JS Custom Endpoint and press save to connect to the node
Then follow the network specific instructions to generate session keys.
Polkadot official instructions: Generate Session Keys via Polkadot-JS
Option 2 - CLI:
Generate the session keys on your Dedicated Node via the author_rotateKeys RPC Request, following the instructions in Connect to your Dedicated Node.
Polkadot CLI example:
curl -H "Content-Type: application/json" -d '{"id":1, "jsonrpc":"2.0", "method": "author_rotateKeys", "params":[]}' **your node's RPC Http URL goes here**4. Set Session Keys
Next, you will need to link the session keys to your account on-chain using the response from author_rotateKeys.
Polkadot official instructions: Set Session Keys via Polkadot-JS
5. Configure your Validator
Finally, you will need to configure your validator’s settings, such as the session keys, stake value, and commission, on chain.
Polkadot official instructions: Set up Validator in Polkadot
Congratulations, your Validator is ready! If selected, it will begin validating at the next era.