Updating your Network Spec Images
It is important to keep your Network up to date with its latest image versions, ensuring that your public RPC endpoint is performing well with latest functionality and that users with Dedicated Nodes can upgrade them to the newest version.
When upgrading the image on your nodes, there are two main steps, adding a new image version to your network spec, and upgrading all of your nodes to that new image version
Upgrades to Partner RPC API Networks
Some Networks prefer OnFinality to manage the image update process, while others like to be hands on and make the change themselves.
If you would like us to manage the image update process, when you have a new image version, please advise of the urgency of a given upgrade, from
Low (the upgrade is optional and can be done anytime in the next few weeks)
Medium (the upgrade is important, but there is a long window to perform it)
High (this is a critical upgrade that needs to be done in the next day or so otherwise nodes will stop working)
Please let us know if their is a date when any nodes on the previous version will stop working
For High priority image updates we would appreciate 24h notice
OnFinality will upgrade Dedicated Nodes serving your RPC endpoint, but it is your job to upgrade any additional nodes you are running such as Collators
Step 1. Add a New Image Version to your Network Spec
There are three ways to do this, through the UI, or via our CLI/GitHub Action. Find more information about docker image requirements, as well as steps to automate adding new image versions to OnFinality in Docker Image Requirements
Through the UI
Login to OnFinality, and navigate to Network Specs under Networks in the sidebar
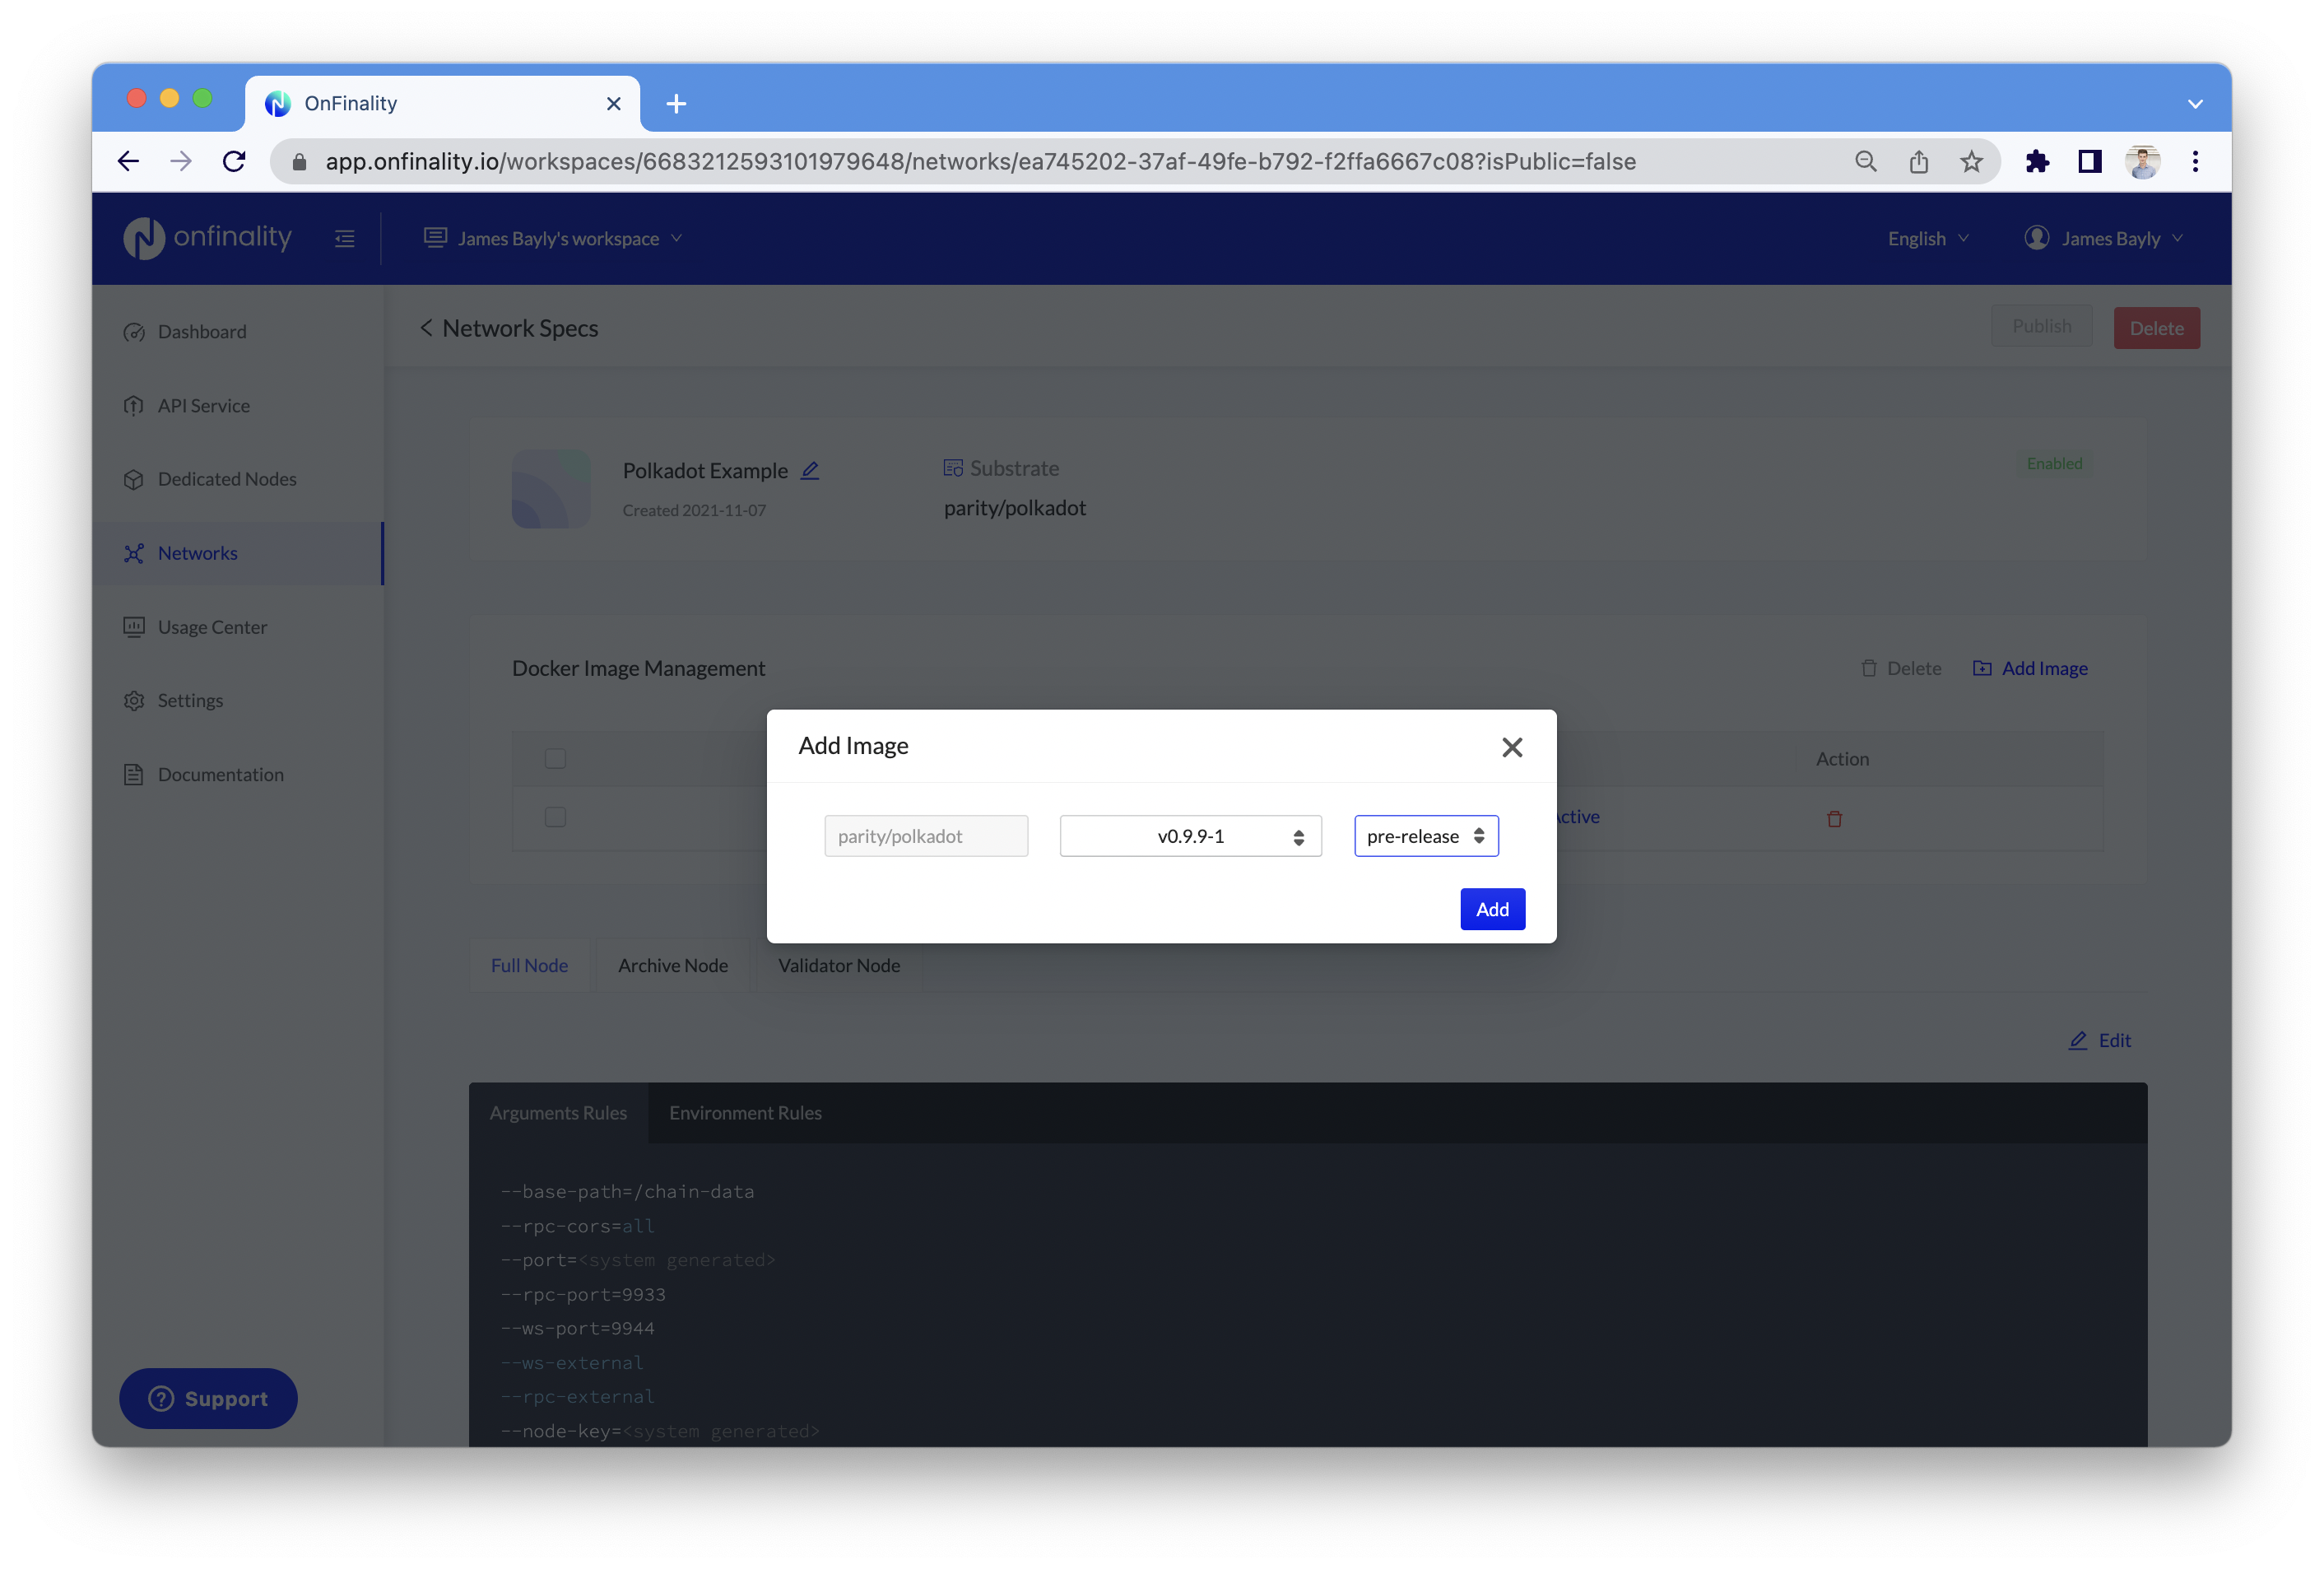
To add a new network image version, click
Add Imageunder the Image sectionSelect the new image version and mark the correct version type (e.g. stable or pre-release)
Once added, you can also mark what image is the default version for your network. This will be selected by default when a user tries to deploy a new node.
You can additionally retire or deactivate old image versions. Marking an image version as inactive will prevent any new nodes being created with that version, while deleting the image version will also prompt users to upgrade their nodes asap.
Through the CLI
With the OnFinality CLI, you can run onf image add command to add a new image version to a network spec. E.g. the following command adds the 2.0.3 version tag to the network spec with the ID 8ffe26b3-d9ca-485d-ba63-1788638faa73.
onf image add --network='8ffe26b3-d9ca-485d-ba63-1788638faa73' --verson='2.0.3' Through the GitHub Action
With OnFinality, you can automate your development process so any change to your node codebase can be automatically built, and then deployed to an existing or new OnFinality network.
You can see an example of a GitHub action that builds a docker image, publishes it to DockerHub, and updates the Network Spec in OnFinality here (https://github.com/OnFinality-io/substrate-node-template/blob/14dc75ff778ce7cc4ffb196b4247ddf29bc0f22d/.github/workflows/onfinality-network-spec-update.yml#L62 ).
Additionally, you can read more under Integrate OnFinality into your CI/CD Pipeline (Substrate only)
# You need to add the following secrets to your GitHub Repository or Organization to make this work
# OnFinality access credential instructions https://documentation.onfinality.io/support/onfinality-cli-tool-and-access-keys
# - ONF_ACCESS_KEY: The unique access key to OnFinality
# - ONF_SECRET_KEY: A secret access key to OnFinality
# - ONF_WORKSPACE_ID: The workspace ID of your OnFinality workspace, you can retrieve this from your workspace settings. E.g. 6683212593101979648
# - ONF_NETWORK_KEY: The network ID of your OnFinality workspace, you can retrieve this from the URL when viewing the network. E.g. f987705c-fe75-4069-99b4-77d62c4fe58k

....

      - name: Update image version of the existing network spec
        uses: "OnFinality-io/action-onf-release@v1"
        with:
          # These keys should be in your GitHub secrets
          # https://documentation.onfinality.io/support/onfinality-cli-tool-and-access-keys
          onf-access-key: ${{ secrets.ONF_ACCESS_KEY }}
          onf-secret-key: ${{ secrets.ONF_SECRET_KEY }}
          onf-workspace-id: ${{ secrets.ONF_WORKSPACE_ID }}
          onf-network-key: ${{ secrets.ONF_NETWORK_KEY }}
          # Add a new image version to network spec
          onf-sub-command: image
          onf-action: add
          image-version: v${{ steps.rev.outputs.value }}
Step 2. Upgrading all of your nodes to that new image version
For production RPC nodes where uptime is critical, OnFinality recommends you follow the following process
Clone an existing node, and then attempt an upgrade on that cloned node, then
Perform a rolling upgrade on all nodes, that is update each node sequentially to ensure that you new image version boots and connects correctly when deployed.
Clean up any temporary cloned nodes and continue to monitor
To Clone a Node and test the Upgrade
Login to OnFinality, and navigate to Dedicated Nodes in the sidebar.
Select an existing node that needs upgrading
Follow these steps to clone that node to a new temporary node Maintain and Upgrade your Dedicated Node | Clone-Node
Wait a few minutes for the new node to start and begin syncing
Click Upgrade Image at the top right corner Maintain and Upgrade your Dedicated Node | Change-Image
Upgrade the node to use the new image version
Wait ~5 minutes after upgrading the test node. You should then confirm the following:
That it is syncing and in the “Running” status
That the latest block is up to date and block production is as expected
It has successfully found a number of peers to sync against
That there are no obvious errors on the Console Logs
You will want to clean this up by terminating the node after you have finished your test
To Perform a Rolling Upgrade
OnFinality suggests that you should perform a rolling upgrade, that is update each node sequentially to ensure that you new image version boots and connects correctly when deployed.
Login to OnFinality, and navigate to Dedicated Nodes in the sidebar.
Upgrade only one node to use the new image version Maintain and Upgrade your Dedicated Node | Change-Image
Wait ~5 minutes after upgrading the single node. You should then confirm the following:
That it is syncing and in the “Running” status
That the latest block is up to date and block production is as expected
It has successfully found a number of peers to sync against
That there are no obvious errors on the Console Logs
If upgraded node is running fine and without issue, you can proceed to the next node in the RPC node pool. Repeat until all nodes are upgraded.