2. Create your dApp and connect to MetaMask
We will be building our dApp in Next.JS. First, we will add a connection to MetaMask so that users can connect their wallet address and prepare for future transactions.
1. Create Next.js Project
Run the following command in your IDE terminal to create a new folder and sample next.js application
npx create-next-app@latest blockchain-transactions-dapp --typescript --tailwind --eslint --app --src-dir --import-alias "@/*" --no-turbopackNavigate to the blockchain-transactions-dapp folder in your terminal and run the command
npm run devYou will see an output like
▲ Next.js 16.1.6 (Turbopack)
- Local:         http://localhost:3001
- Network:       http://192.168.1.101:3001

✓ Starting...
✓ Ready in 883ms
 GET / 200 in 2.3s (compile: 2.2s, render: 138ms)
Browse to the Local address in your browser to see the templated application and make sure everything is running well.
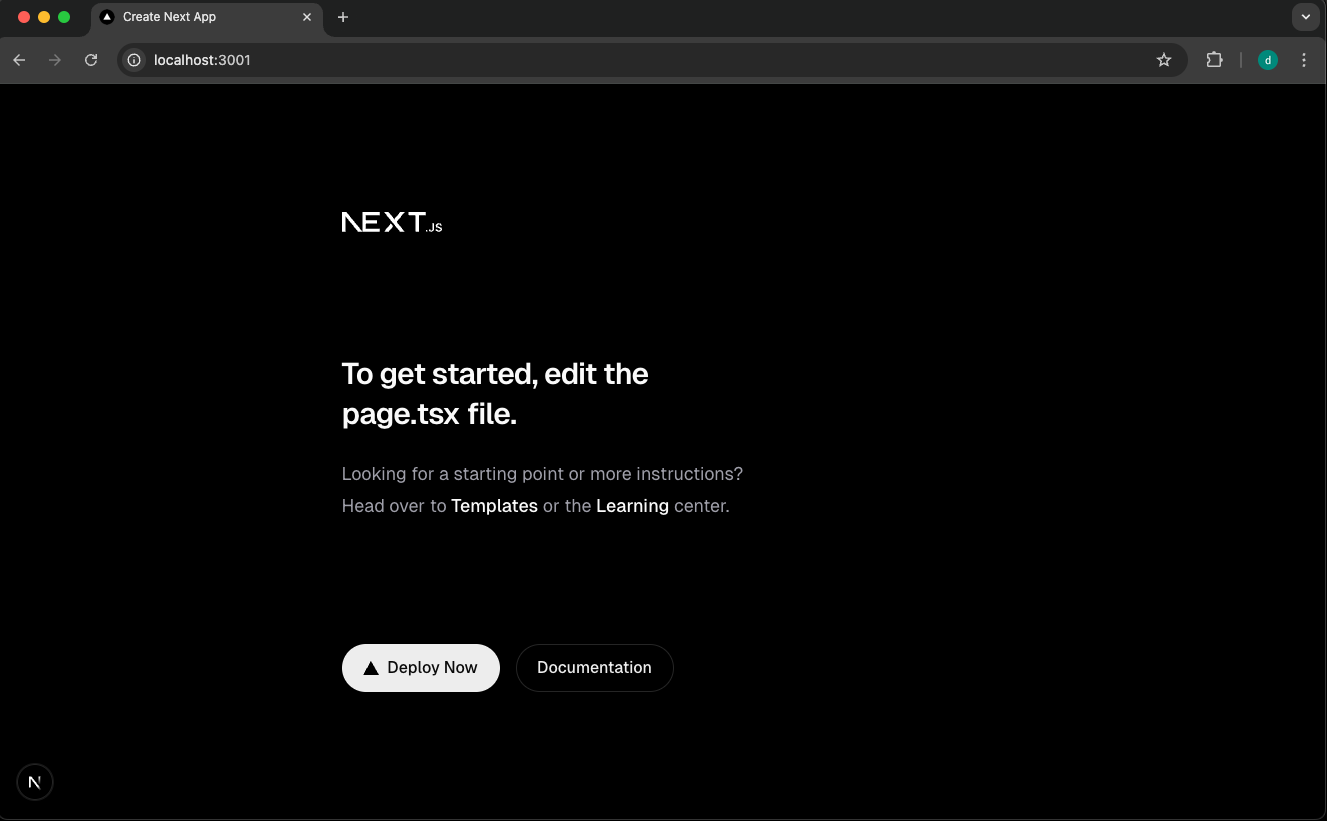
To get a fresh start, let’s remove all image files from the next.js project, and replace the page.tsx content with a single Connect Wallet button.
export default function Home() {
  return (
    <main className="min-h-screen bg-zinc-50 dark:bg-black">
      <header className="flex justify-end p-4">
        <button className="flex h-12 items-center justify-center rounded-full bg-foreground px-5 font-medium text-background transition-colors hover:bg-[#383838] dark:hover:bg-[#ccc]">
          Connect Wallet
        </button>
      </header>
    </main>
  );
}
Disable the next.js developer tool icon by replacing next.config.ts with
import type { NextConfig } from "next";

const nextConfig: NextConfig = {
  devIndicators: false, // This removes the icon
};

export default nextConfig;
Run npm run dev in your IDE terminal after each change to build and run the latest version

Note: The Connect Wallet button is only a placeholder for now.
2. Install Wallet Connectors: Wagmi, Viem, & MetaMask SDK
We will use Wagmi to connect to MetaMask. Wagmi in turn relies on Viem, a Typescript library for interacting with Ethereum and other EVM networks.
In your IDE terminal, run
cd blockchain-transactions-dapp

npm install wagmi viem @tanstack/react-query
Finally, we will need to install the MetaMask SDK
npm install @metamask/sdk3. Connect to MetaMask
We will add 3 new files for the MetaMask connector
…/src/config/wagmi.ts - Wagmi Config
…/src/components/Providers.tsx - Wagmi Provider
…/src/components/ConnectButton.tsx - Connect Button Component
And update the Page.tsx & Layout.tsx files to include these new Wagmi & Connect Button components
3.1) New Config: Wagmi.ts
Create file …/src/config/wagmi.ts
The Wagmi config file configures the Network (Base Sepolia) and Wallet (MetaMask) to be used.
import { http, createConfig } from "wagmi";
import { defineChain } from "viem";
import { metaMask } from "wagmi/connectors";

export const baseSepolia = defineChain({
  id: 84532,
  name: "Base Sepolia",
  nativeCurrency: {
    decimals: 18,
    name: "Ether",
    symbol: "ETH",
  },
  rpcUrls: {
    default: {
      http: ["https://base-sepolia.onfinality.io/public"],
    },
  },
  blockExplorers: {
    default: {
      name: "BaseScan",
      url: "https://sepolia.basescan.org",
    },
  },
  testnet: true,
});

export const config = createConfig({
  chains: [baseSepolia],
  connectors: [metaMask()],
  transports: {
    [baseSepolia.id]: http("https://base-sepolia.onfinality.io/public"),
  },
});
3.2) New Component: Providers.tsx
Create file …/src/components/Providers.tsx
Providers.tsx wraps the application with the contexts required for wallet connectivity. WagmiProvider enables wallet hooks (connect, disconnect, account info) across all components. QueryClientProvider handles caching and state management for blockchain data fetching.
"use client";

import { QueryClient, QueryClientProvider } from "@tanstack/react-query";
import { WagmiProvider } from "wagmi";
import { config } from "@/config/wagmi";
import { useState } from "react";

export function Providers({ children }: { children: React.ReactNode }) {
  const [queryClient] = useState(() => new QueryClient());

  return (
    <WagmiProvider config={config}>
      <QueryClientProvider client={queryClient}>{children}</QueryClientProvider>
    </WagmiProvider>
  );
}
3.3) New Component: ConnectButton.tsx
Create file …/src/components/ConnectButton.tsx
We will turn the Connect Button into a component to keep our home page page.tsx clean
"use client";

import { useAccount, useConnect, useDisconnect } from "wagmi";
import { baseSepolia } from "@/config/wagmi";

export function ConnectButton() {
  const { address, isConnected } = useAccount();
  const { connect, connectors, isPending } = useConnect();
  const { disconnect } = useDisconnect();

  if (isConnected) {
    return (
      <button
        onClick={() => disconnect()}
        className="flex h-12 items-center justify-center rounded-full border border-solid border-black/[.08] px-5 font-medium transition-colors hover:border-transparent hover:bg-black/[.04] dark:border-white/[.145] dark:hover:bg-[#1a1a1a]"
      >
        {address?.slice(0, 6)}...{address?.slice(-4)}
      </button>
    );
  }

  return (
    <button
      onClick={() => connect({ connector: connectors[0] })}
      disabled={isPending}
      className="flex h-12 items-center justify-center rounded-full bg-foreground px-5 font-medium text-background transition-colors hover:bg-[#383838] dark:hover:bg-[#ccc] disabled:opacity-50"
    >
      {isPending ? "Connecting..." : "Connect Wallet"}
    </button>
  );
}
3.4) Update Layout
Update layout.tsx to import & use the Wagmi Providers component
We also updated the Metadata (Title & Description) while we’re here
import type { Metadata } from "next";
import { Geist, Geist_Mono } from "next/font/google";
import "./globals.css";
import { Providers } from "@/components/Providers";

const geistSans = Geist({
  variable: "--font-geist-sans",
  subsets: ["latin"],
});

const geistMono = Geist_Mono({
  variable: "--font-geist-mono",
  subsets: ["latin"],
});

export const metadata: Metadata = {
  title: "Base Sepolia Transactions",
  description: "An OnFinality Demo dApp",
};

export default function RootLayout({
  children,
}: Readonly<{
  children: React.ReactNode;
}>) {
  return (
    <html lang="en">
      <body
        className={`${geistSans.variable} ${geistMono.variable} antialiased`}
      >
        <Providers>{children}</Providers>
      </body>
    </html>
  );
}
3.5) Update Home Page
Replace the existing button with the Connect Button component in pages.tsx
import { ConnectButton } from "@/components/ConnectButton";

export default function Home() {
  return (
    <main className="min-h-screen bg-zinc-50 dark:bg-black">
      <header className="flex justify-end p-4">
        <ConnectButton />
      </header>
    </main>
  );
}
Run nom run dev again and test it out.
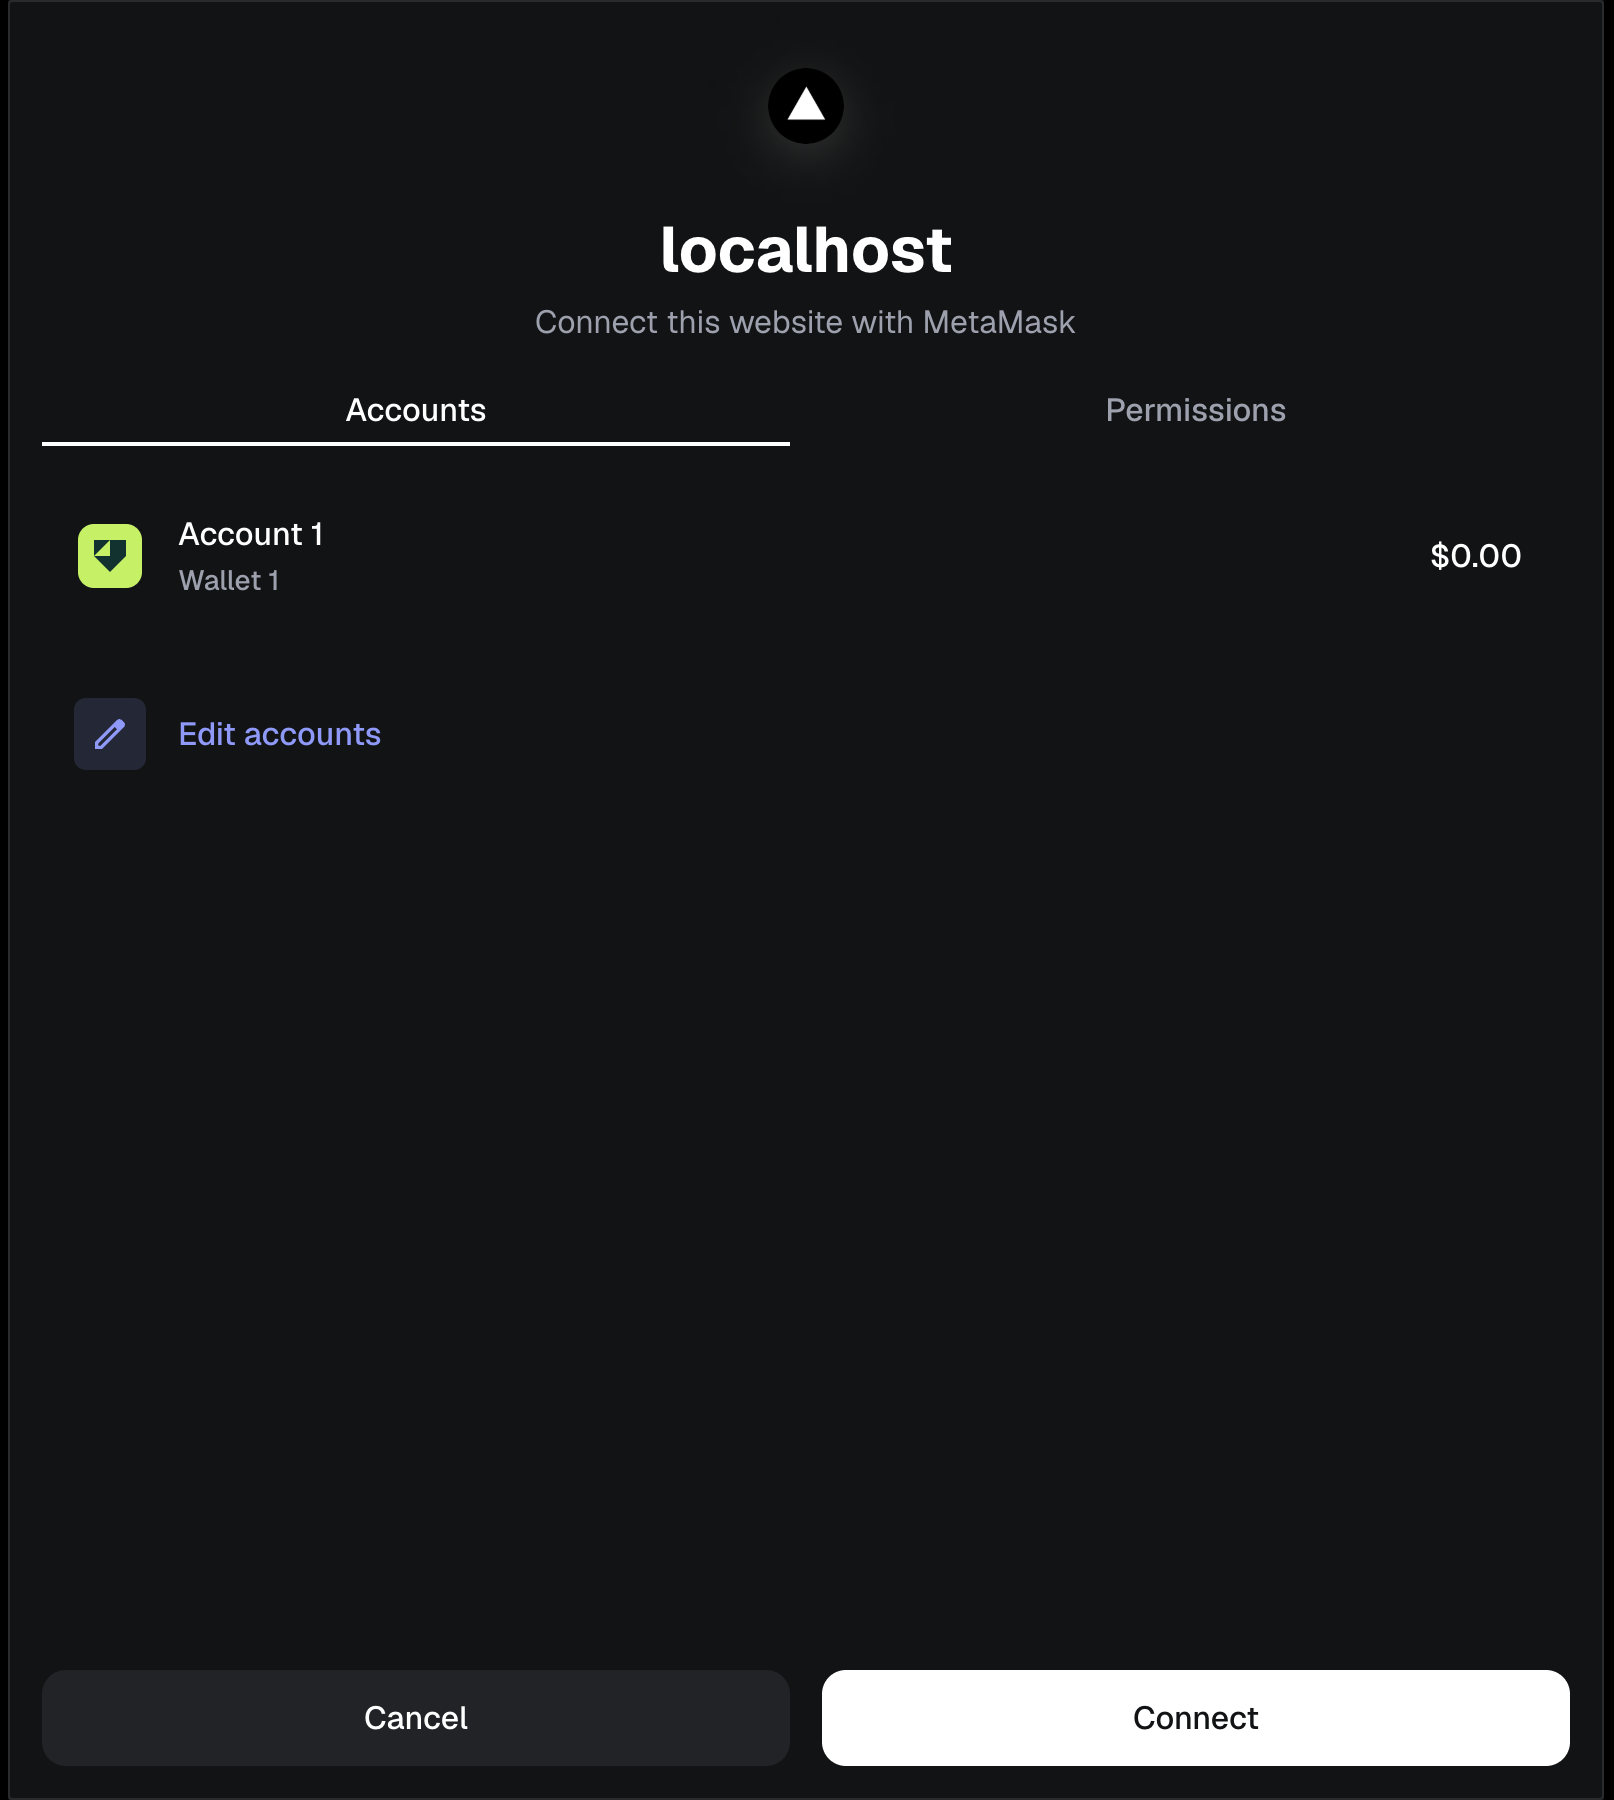
After pressing Connect Wallet you will be prompted to log in to MetaMask and select your account
Once connected you’ll see the shortened Wallet Address in place of the Connect Button

However, upon viewing the MetaMask extension you might notice that the Base Sepolia network isn’t being used. In my case, it connected to the most recently used Linea network
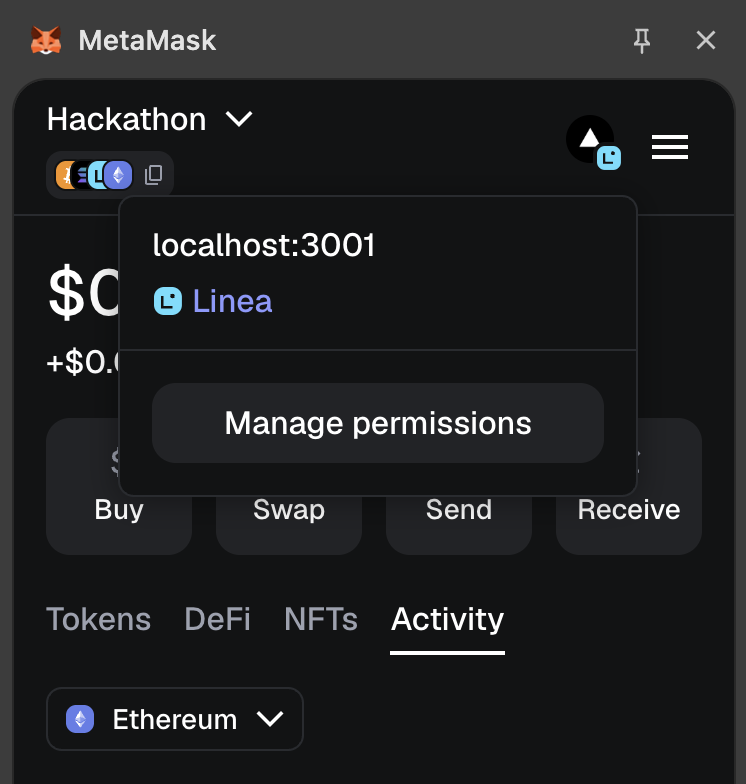
Let’s sort that out!
4. Connect MetaMask to Base Sepolia Network
After connecting to the user’s wallet we will check whether it’s connected to the Base Sepolia network. MetaMask doesn’t come with testnets by default, so if the user hasn’t set up Base Sepolia we will also need to do that for them.
…/src/components/ConnectButton.tsx is updated to:
Show a red button "Switch to Base Sepolia" if you're on the wrong network
Add Base Sepolia to MetaMask automatically if it's not configured
"use client";

import { useAccount, useConnect, useDisconnect, useSwitchChain } from "wagmi";
import { baseSepolia } from "@/config/wagmi";
import { useEffect } from "react";

export function ConnectButton() {
  const { address, isConnected, chainId } = useAccount();
  const { connect, connectors, isPending } = useConnect();
  const { disconnect } = useDisconnect();
  const { switchChain } = useSwitchChain();

  useEffect(() => {
    if (isConnected && chainId !== baseSepolia.id) {
      switchChain({ chainId: baseSepolia.id });
    }
  }, [isConnected, chainId, switchChain]);

  if (isConnected) {
    return (
      <div className="flex items-center gap-2">
        {chainId !== baseSepolia.id && (
          <button
            onClick={() => switchChain({ chainId: baseSepolia.id })}
            className="flex h-12 items-center justify-center rounded-full bg-red-500 px-5 font-medium text-white transition-colors hover:bg-red-600"
          >
            Switch to Base Sepolia
          </button>
        )}
        <button
          onClick={() => disconnect()}
          className="flex h-12 items-center justify-center rounded-full border border-solid border-black/[.08] px-5 font-medium transition-colors hover:border-transparent hover:bg-black/[.04] dark:border-white/[.145] dark:hover:bg-[#1a1a1a]"
        >
          {address?.slice(0, 6)}...{address?.slice(-4)}
        </button>
      </div>
    );
  }

  return (
    <button
      onClick={() => connect({ connector: connectors[0] })}
      disabled={isPending}
      className="flex h-12 items-center justify-center rounded-full bg-foreground px-5 font-medium text-background transition-colors hover:bg-[#383838] dark:hover:bg-[#ccc] disabled:opacity-50"
    >
      {isPending ? "Connecting..." : "Connect Wallet"}
    </button>
  );
}
Build your project again, and you should see

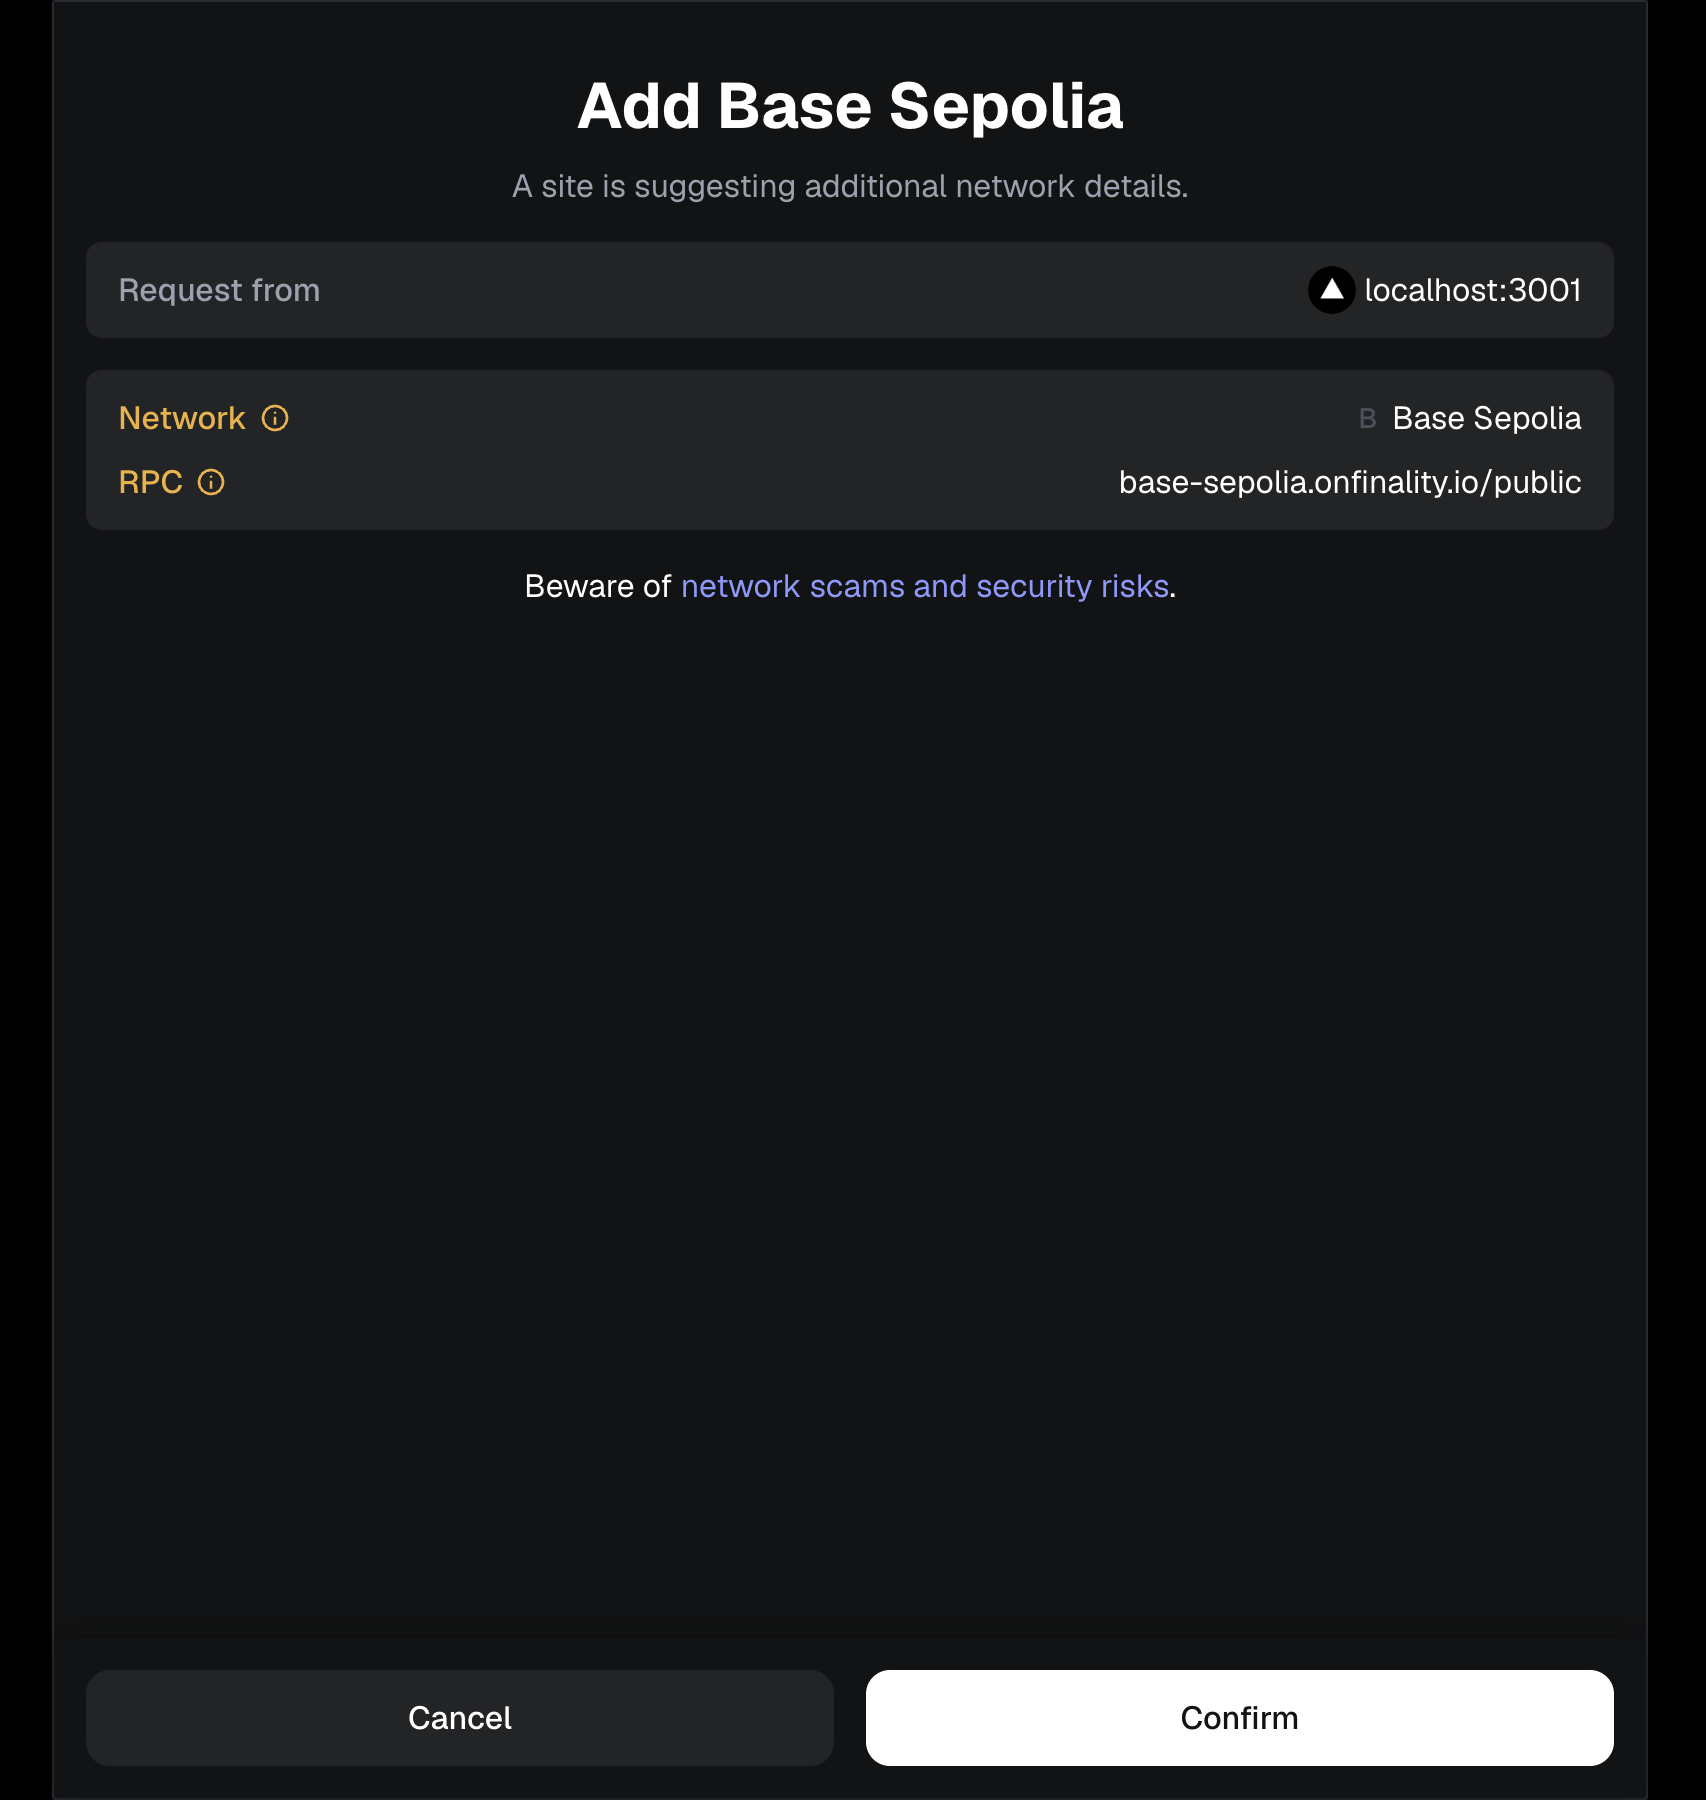
Clicking Switch to Base Sepolia prompts you to add the network in MetaMask, using OnFinality’s public Base Sepolia RPC