1. Deploy Data Indexer
Deploy Base Sepolia Transactions Data Indexer
We are going to start by setting up and deploying our SubQuery Data Indexer because it can take several hours to sync up your indexer.
While the indexer is syncing we will then begin building the dApp.
Why do we need a Data Indexer?
A user’s current balance is available through a simple request to the node but their full transaction history isn’t.
The Base Mainnet blockchain has 42 million blocks (as of February 2026), so if you wanted to see all of a user’s transactions you’d need to scan each block looking for a relevant transaction for this wallet address.
This obviously cannot be done efficiently in real-time, so a Data Indexer prepares all the relevant information for your application in advance (in this case blockchain transactions) and allows you to query it easily and flexibly via GraphQL.
What is IPFS?
IPFS (InterPlanetary File System) is a decentralized, peer-to-peer file storage network. Instead of files living on one server, they're distributed across many nodes and addressed by their content hash (CID) rather than location.
SubQuery uses IPFS as a decentralised way to store the project files.
1. Prepare SubQuery Project
We have prepared a sample SubQuery project which indexes all transactions from the Base Sepolia blockchain, starting from block 38017108 - the most recent block in February 2026, and uploaded it to IPFS using the following CID:
QmXvSvjieRDqxSne2JbNB5BYx8UYUj9nN66X6TH73rWH3f
We chose a recent block height for the demo to quickly catch up to the chain head and begin testing with new transactions.
If you’re following this tutorial after February 2026, you may wish to update startBlock to the most recent block height to reduce indexing time. Alternatively, if you do wish to index the full chain history, you can set the startBlock to 1 - just be prepared to wait a day or two for the project to index the entire blockchain.
If you’re using the demo SubQuery project without changes, copy the CID QmXvSvjieRDqxSne2JbNB5BYx8UYUj9nN66X6TH73rWH3f and skip ahead to step 2.
1.1) Build SubQuery Project
Fork the SubQuery Project from Github and update the startBlock in project.ts.
https://github.com/Danielvul/onfinality-dapp/tree/master/subquery-base-sepolia-transactions
…/subquery-base-sepolia-transactions/projects.ts

...
  dataSources: [
    {
      kind: EthereumDatasourceKind.Runtime,
      startBlock: 38017108, // Change block height here
      mapping: {
        file: "./dist/index.js",
        handlers: [
          {
            kind: EthereumHandlerKind.Block,
            handler: "handleBlock",
          },
        ],
      },
    },
  ],
...
Next, you will need to build your SubQuery Project and deploy to IPFS
Build SubQuery Project
In your development console terminal run the following commands
cd subquery-base-sepolia-transactions

npm install

npm run codegen

npm run build
1.2) Deploy to IPFS
To Deploy to IPFS we recommend using the SubQuery CLI. Enter the following commands in your terminal
npm install -g @subql/cli@latest

subql publish
You will be provided with an IPFS CID. You may need to wait 15 minutes for the IPFS file to be propagated and work in step 3.
2. Get your Private Base Sepolia RPC Endpoint from OnFinality
Your indexer will run a lot faster & more reliably when paired with a private OnFinality RPC endpoint. We run our blockchain nodes in the same data centre as our hosted SubQuery and The Graph indexers for the best possible performance.
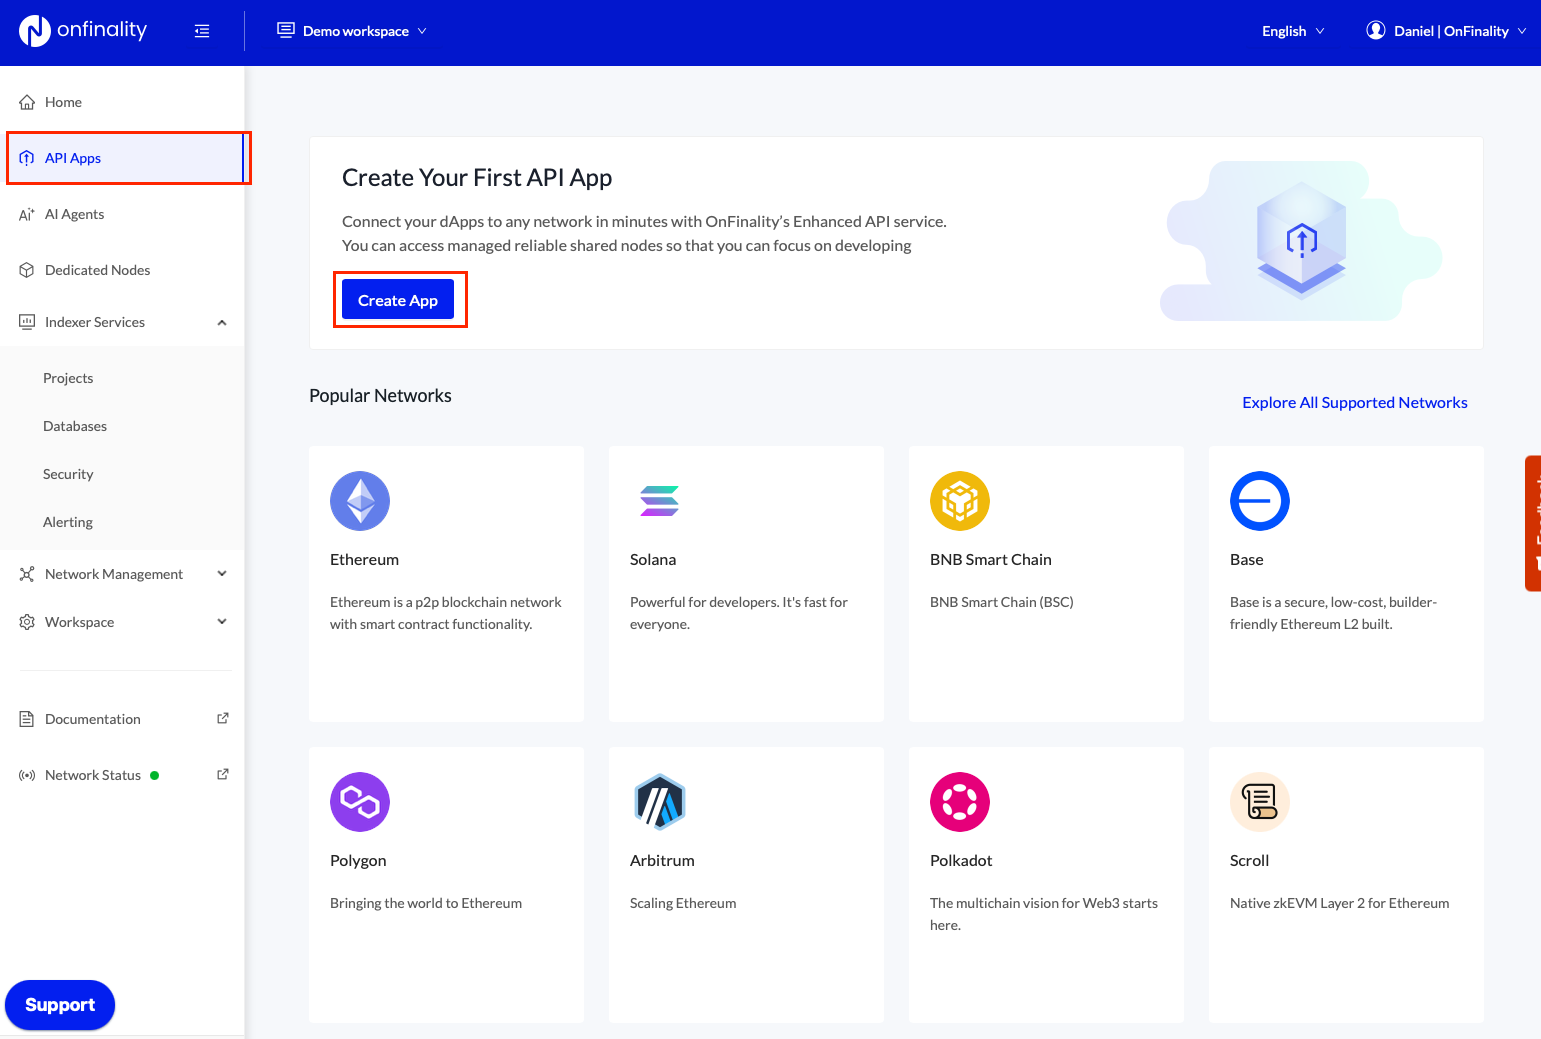
Log in to http://app.onfinality.io
Navigate to API Apps menu and press Create API App
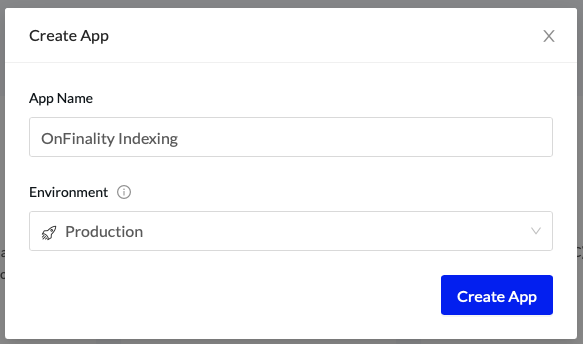
Provide a Name and Environment
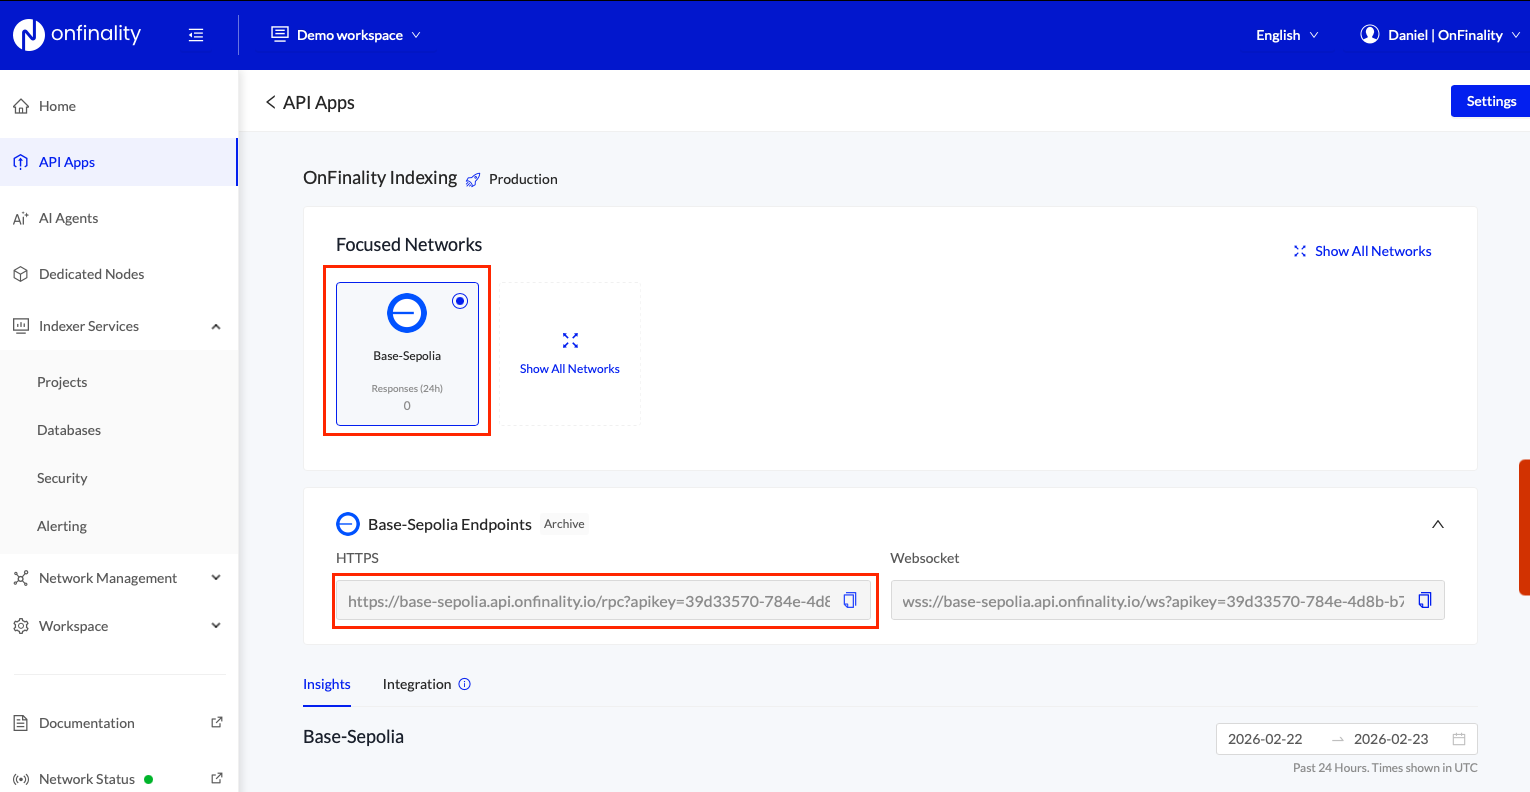
Search for Base Sepolia and copy the HTTPS endpoint. Save it for future use.
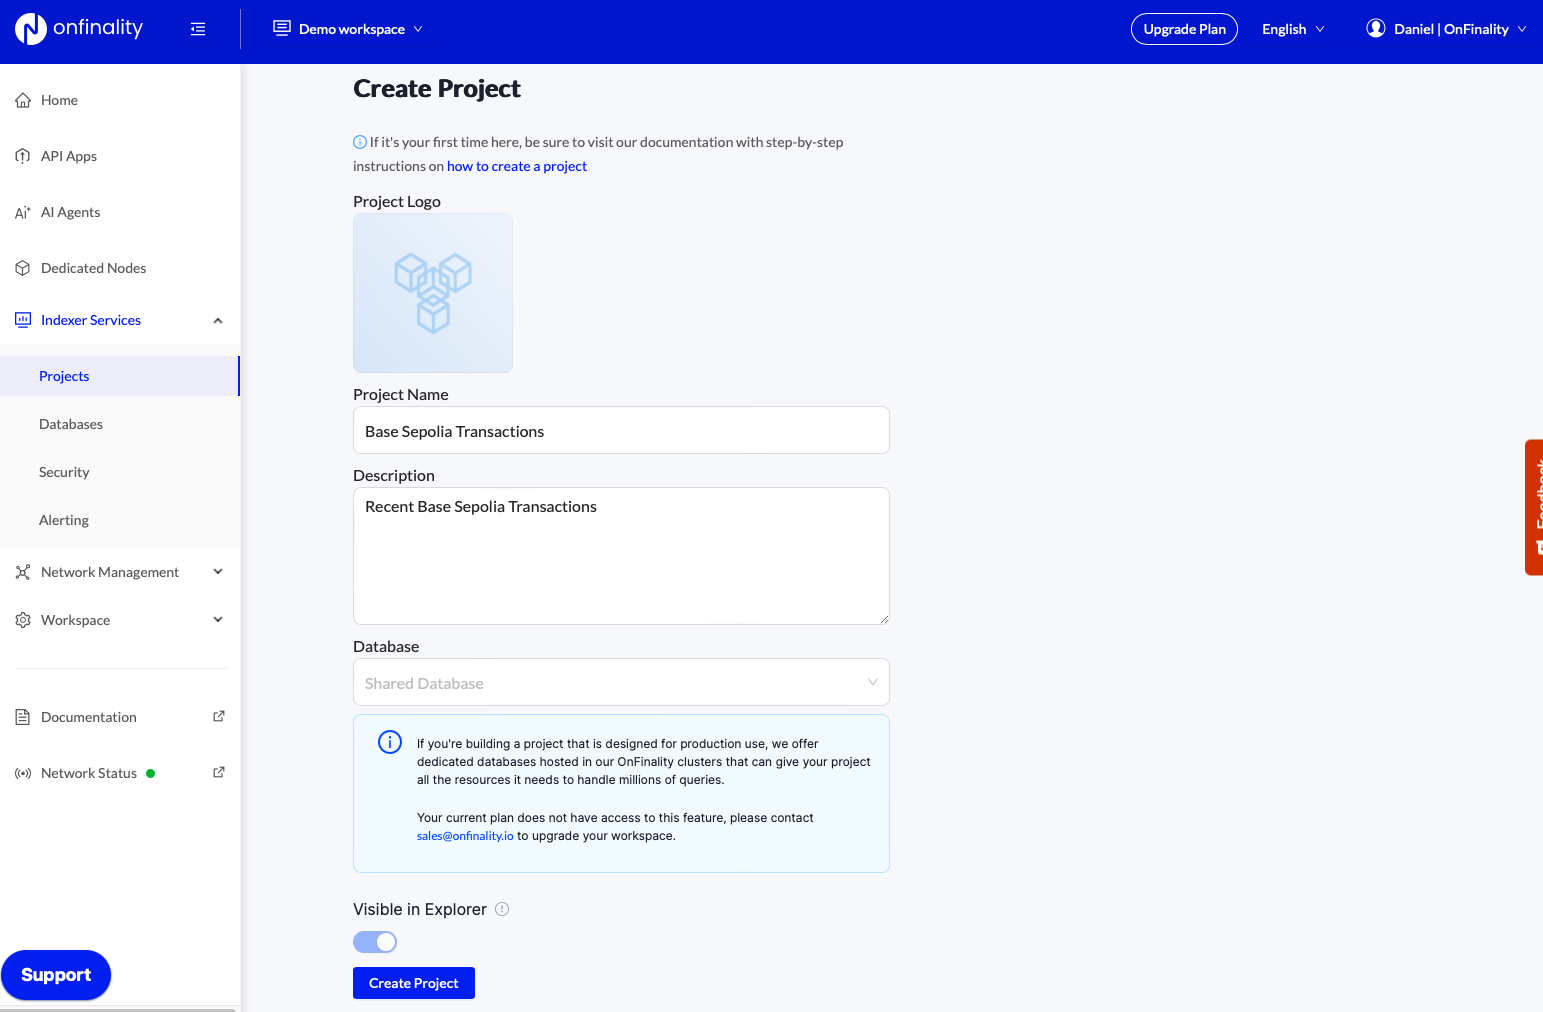
3. Create SubQuery Project on OnFinality
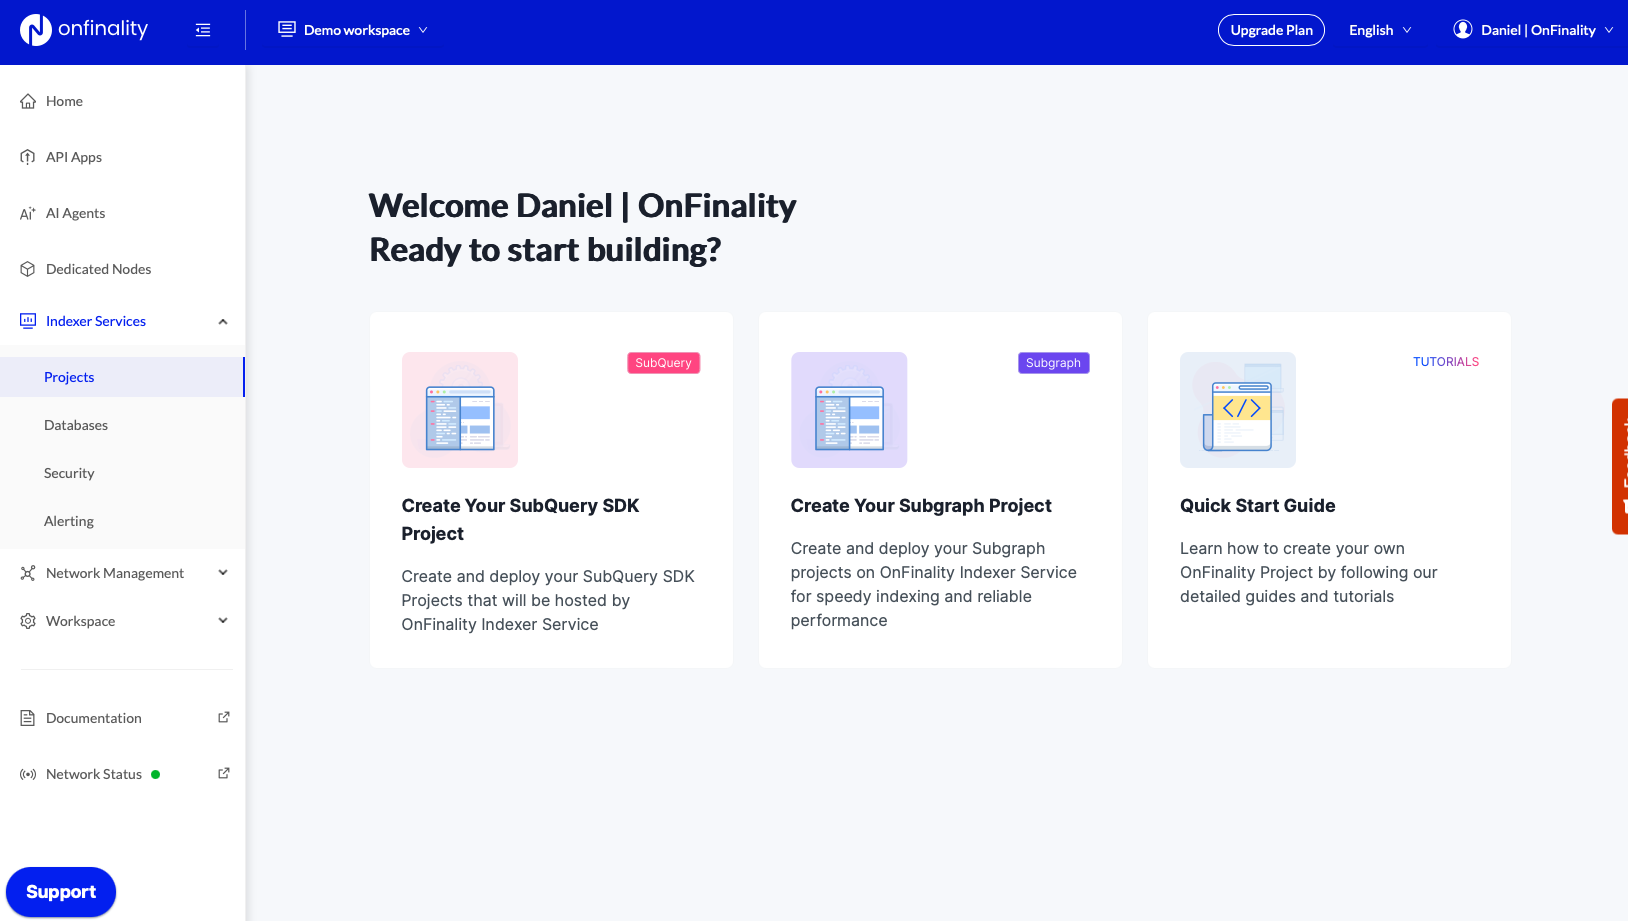
Next, navigate to Indexer Services > Projects and press Create Your SubQuery SDK Project
Provide the Name and Description, then press Create Project
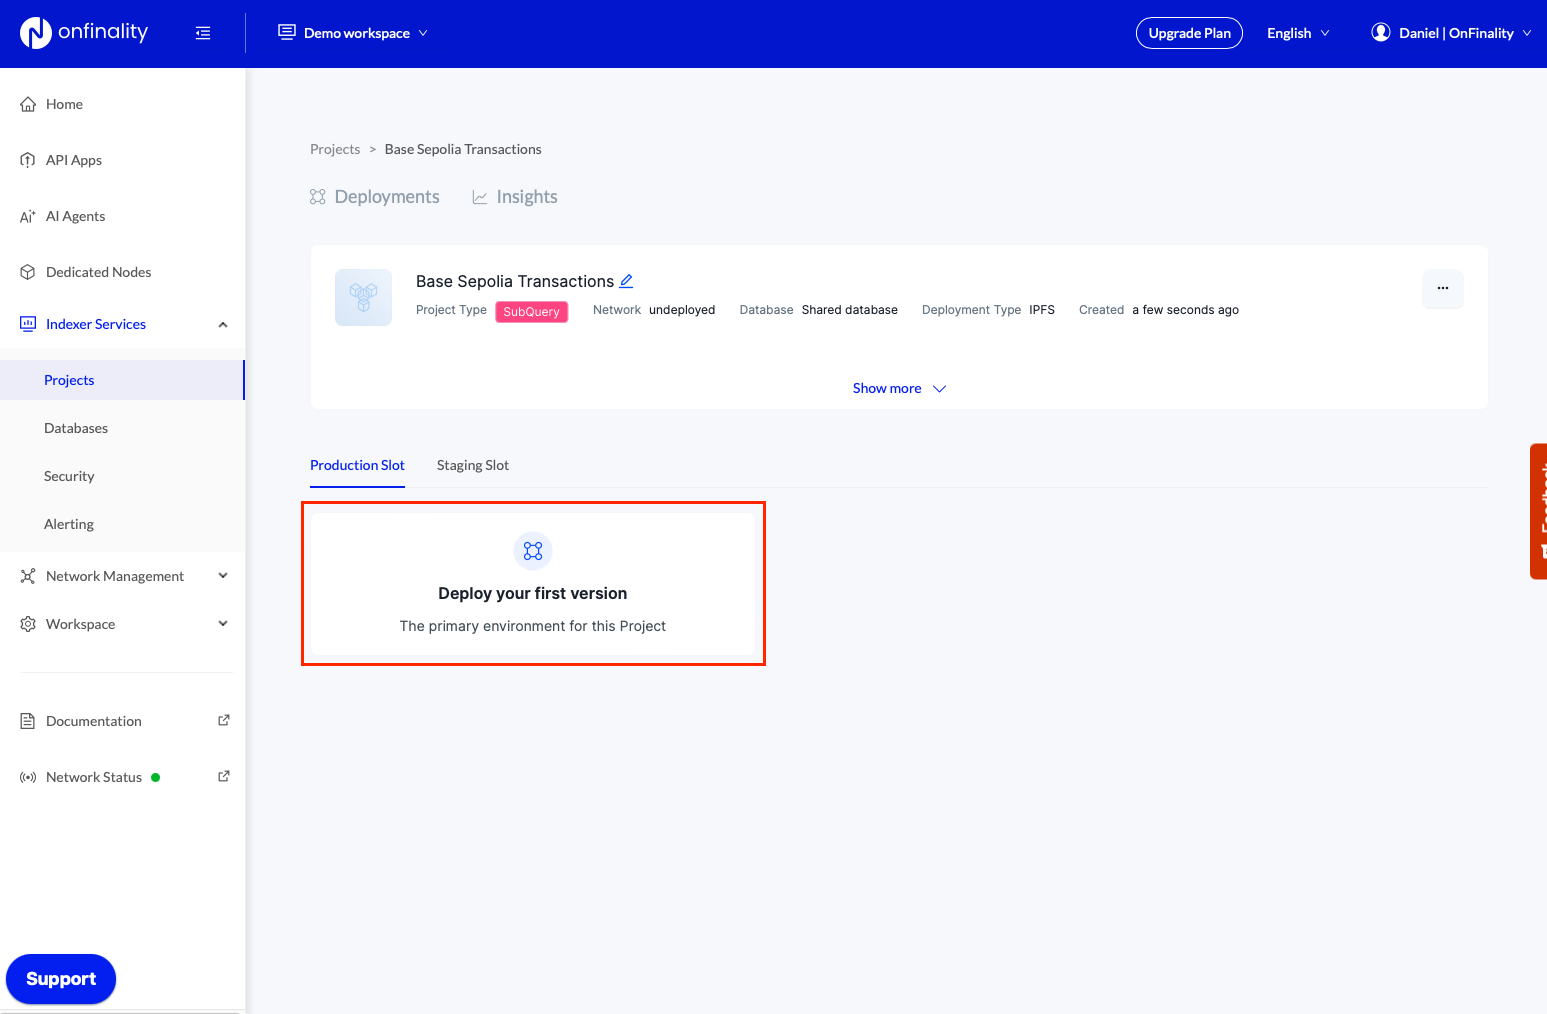
4. Deploy your Project
Press Deploy your first version
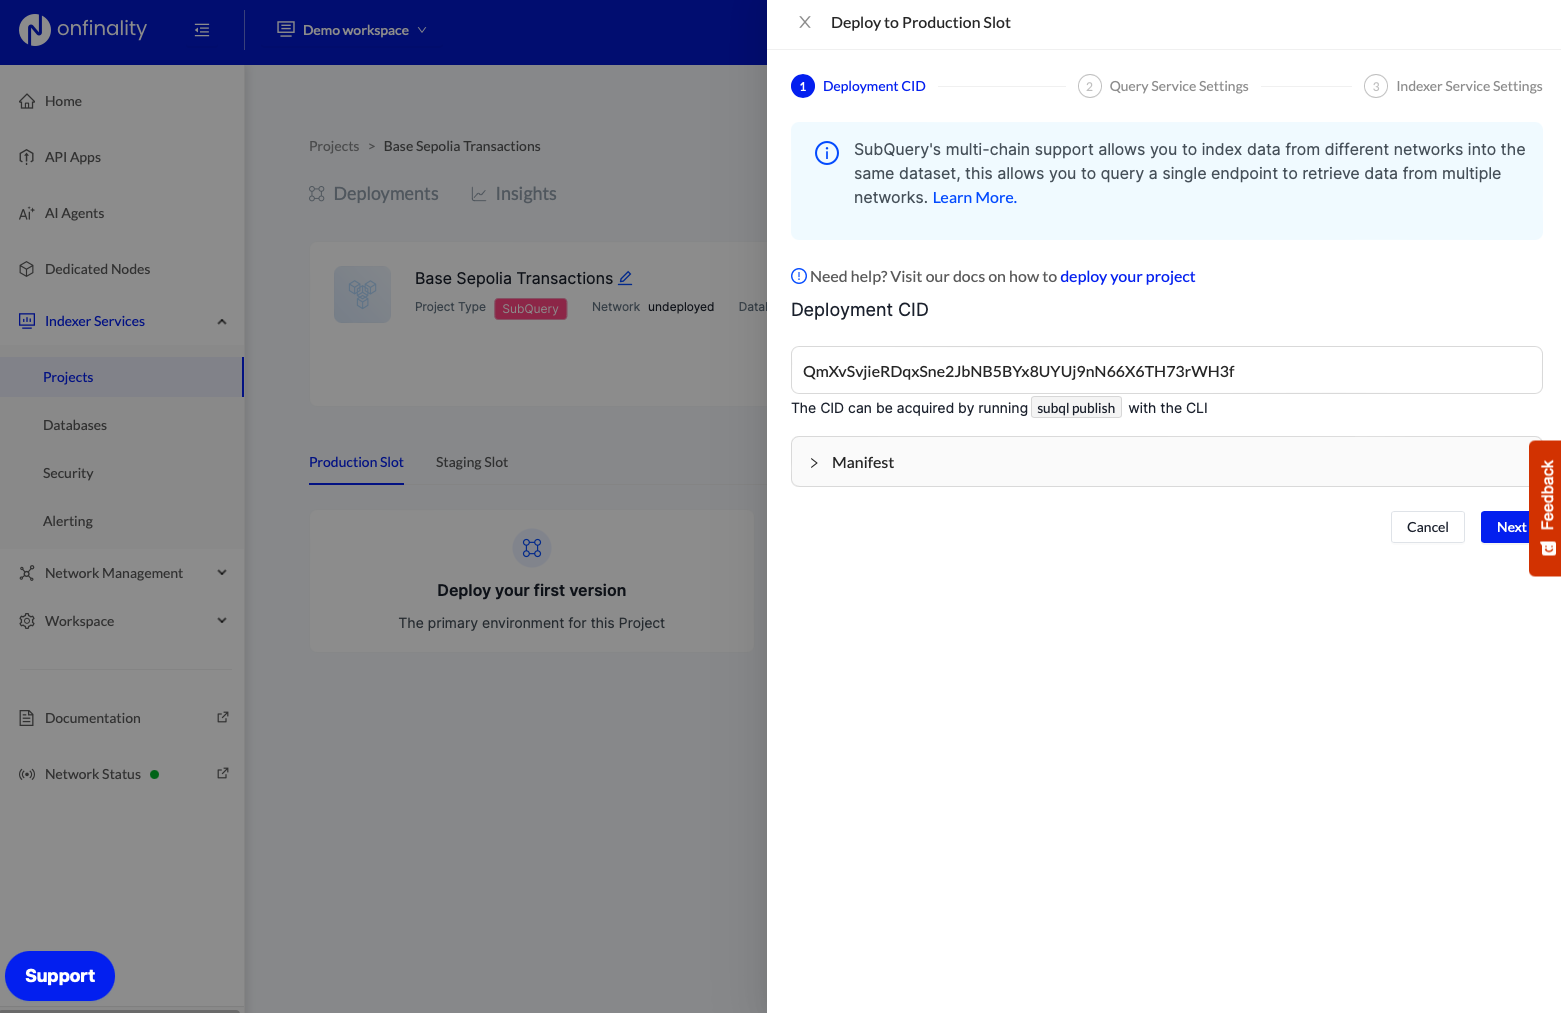
Enter your IPFS CID from Step 1, then press Next
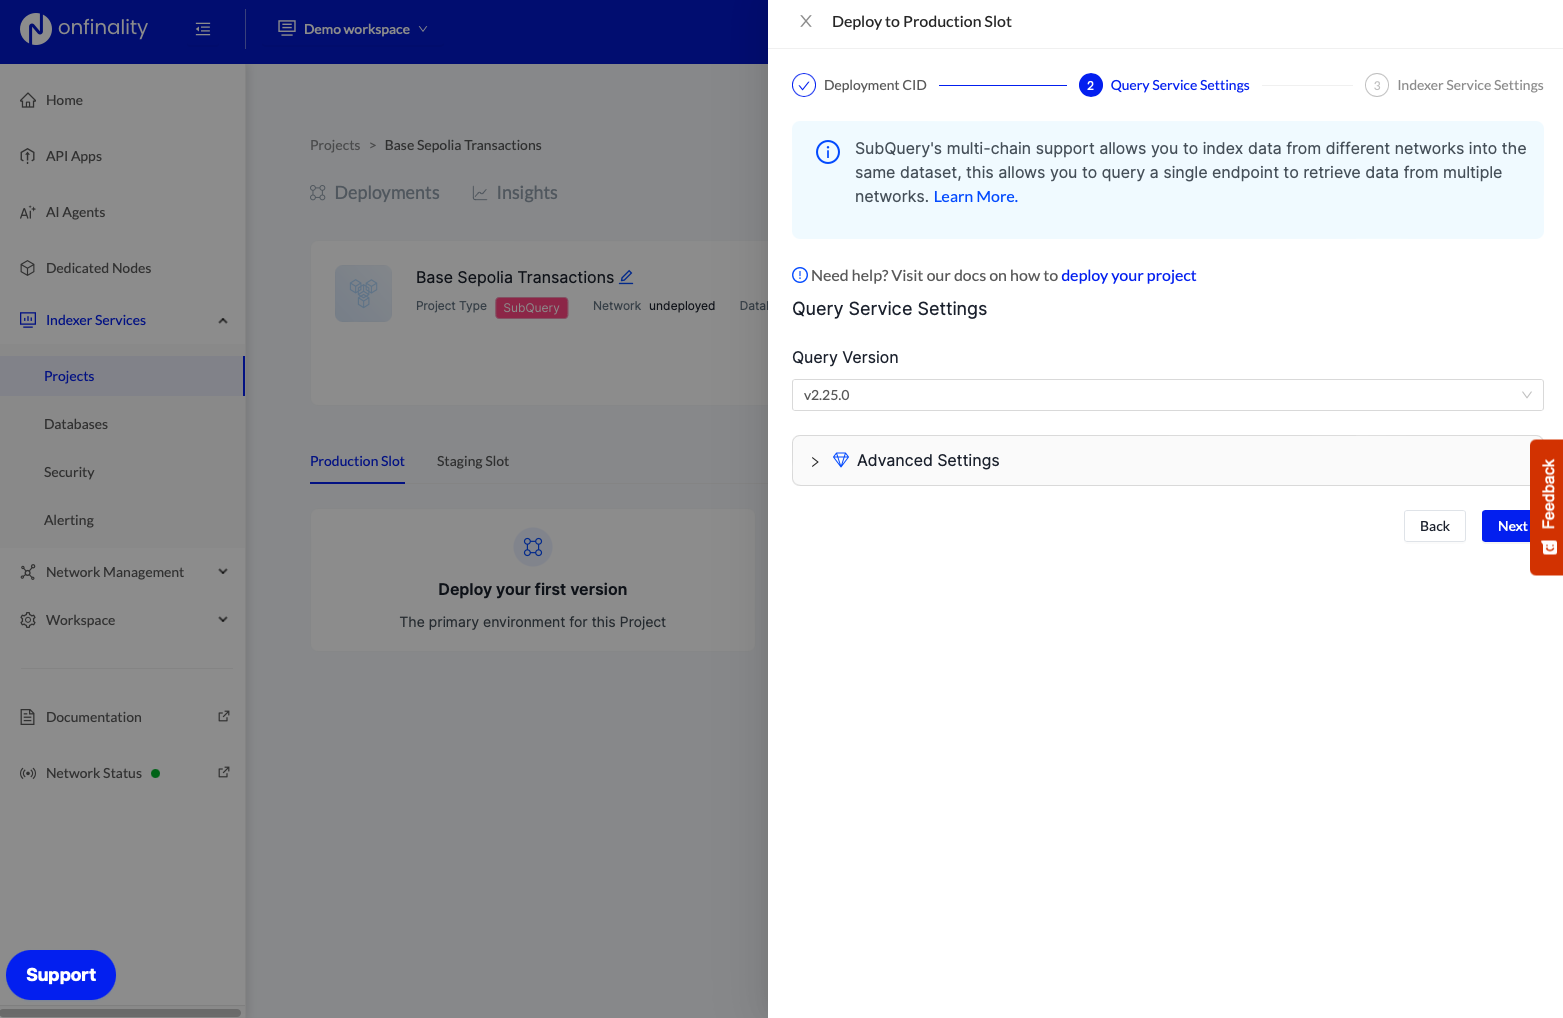
Press Next again to use the recommended Query Service Settings
Enter your OnFinality RPC Endpoint from Step 2 and press Deploy
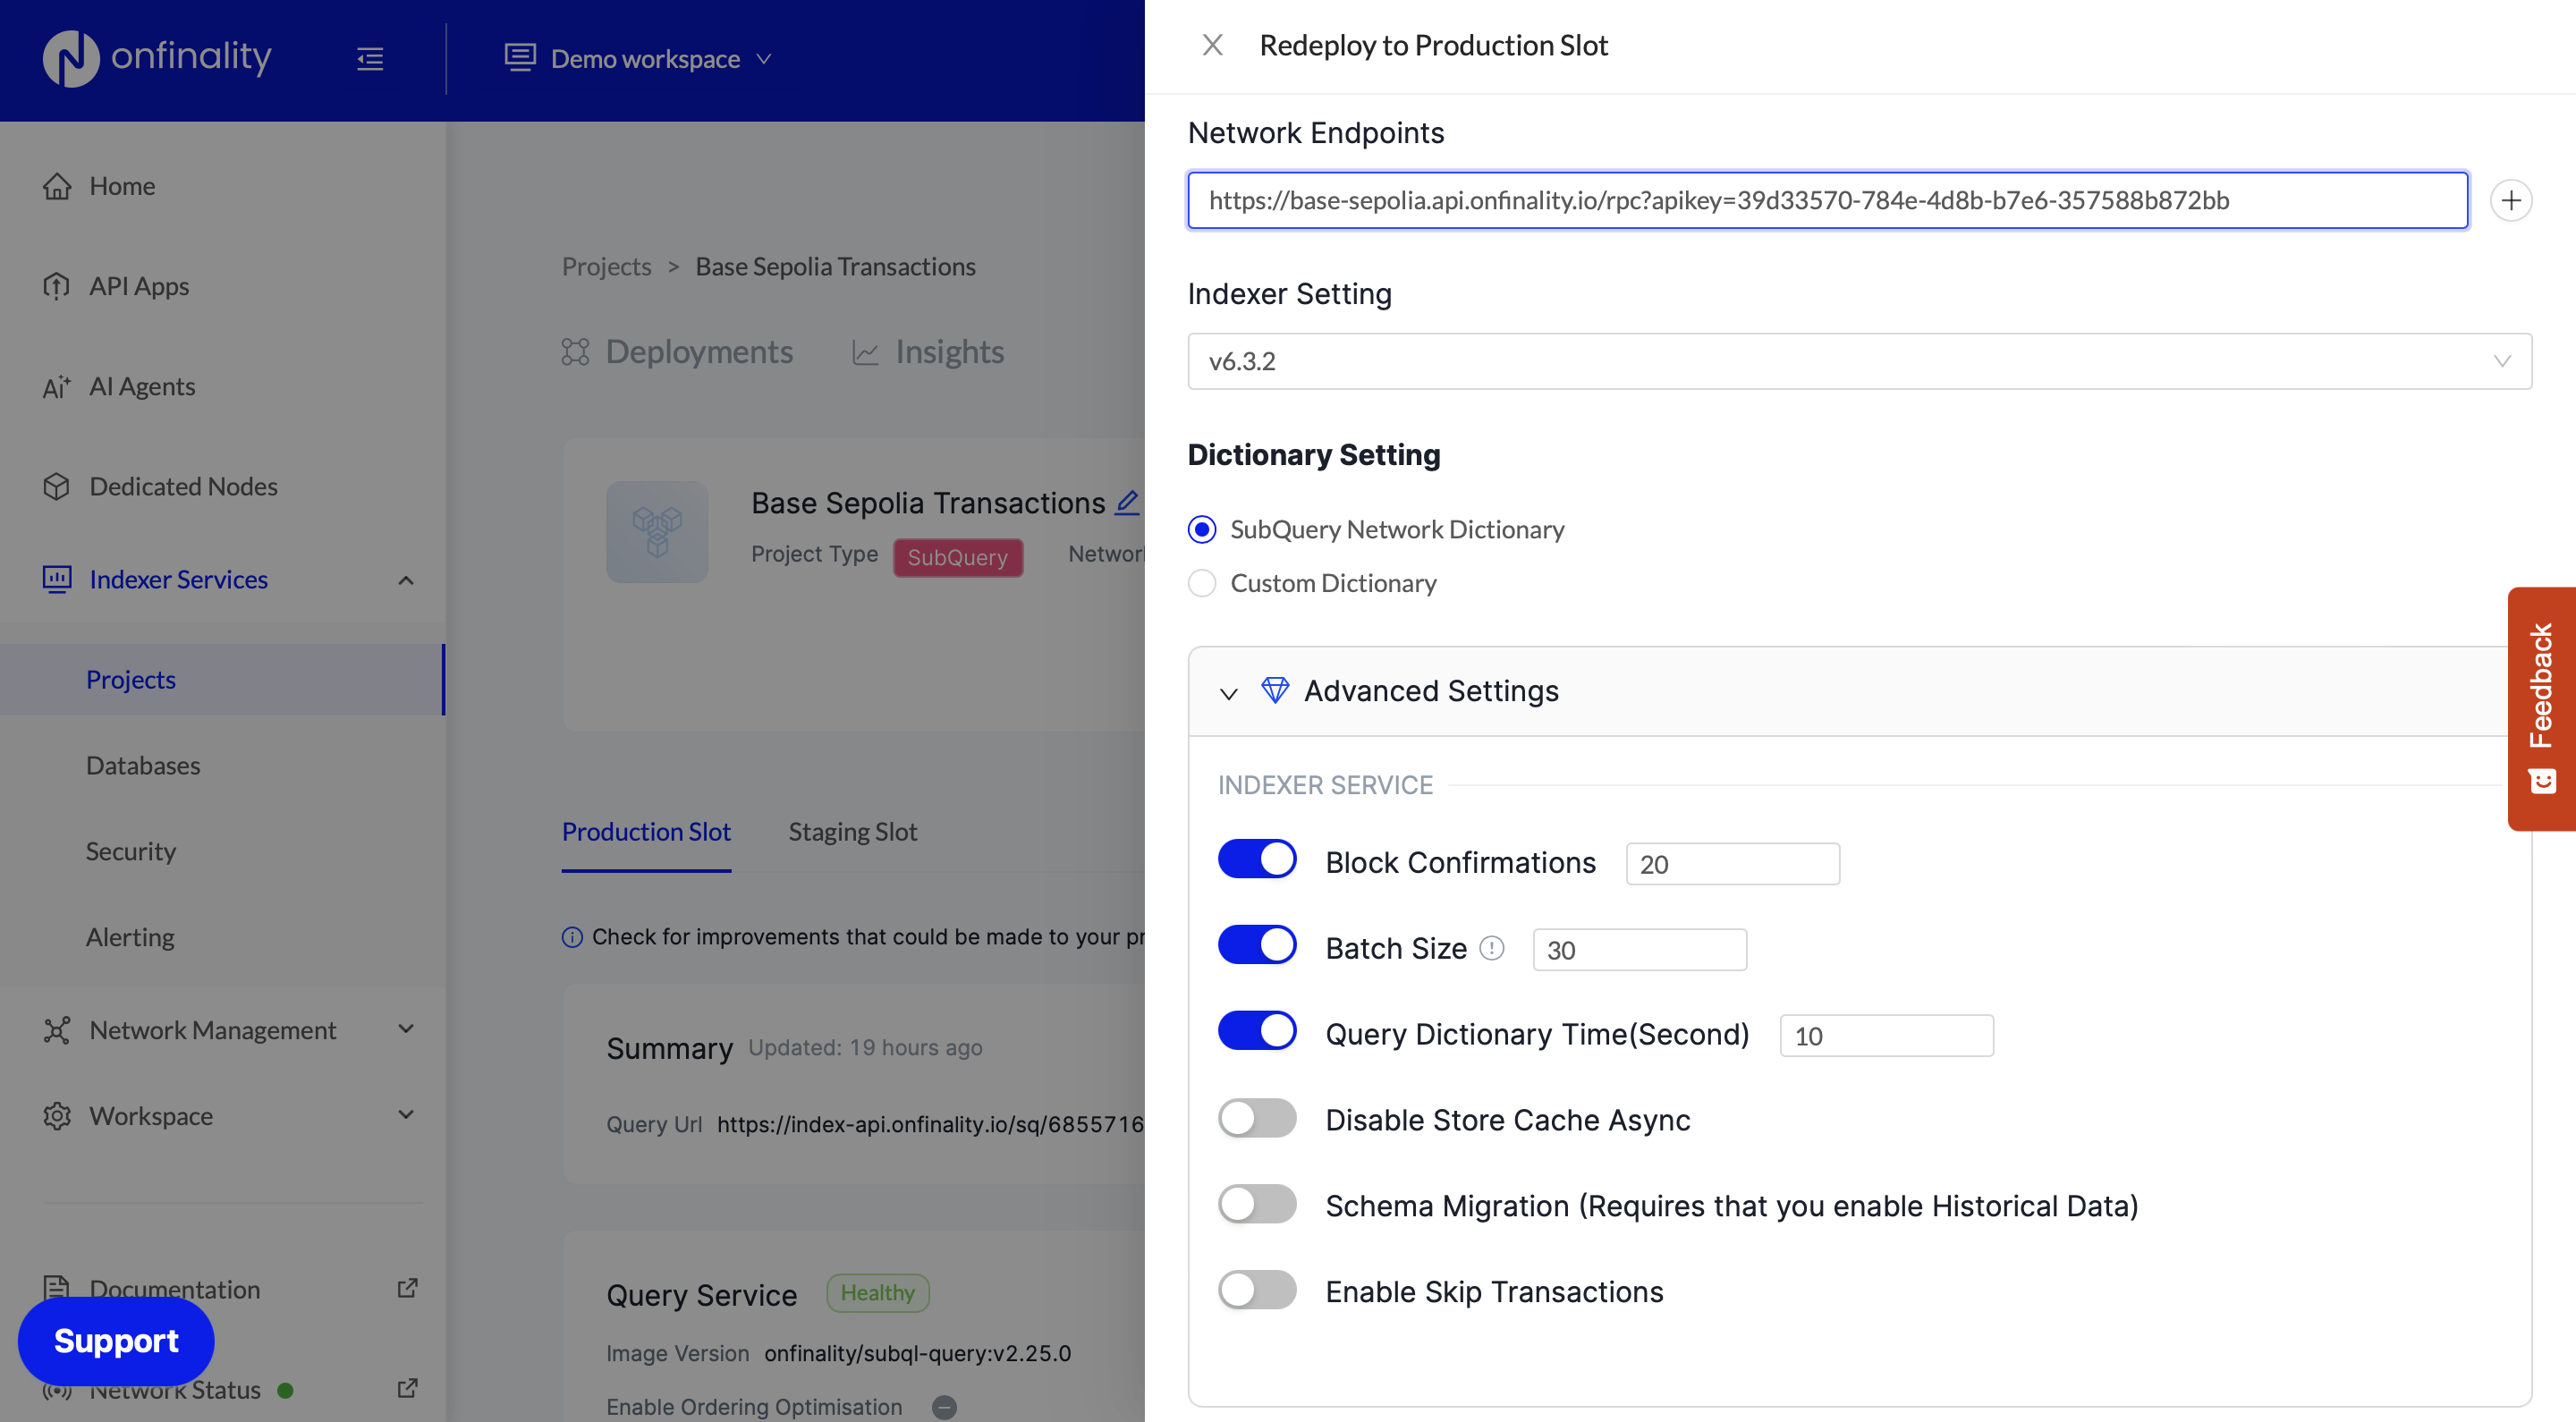
5. Review Project Status
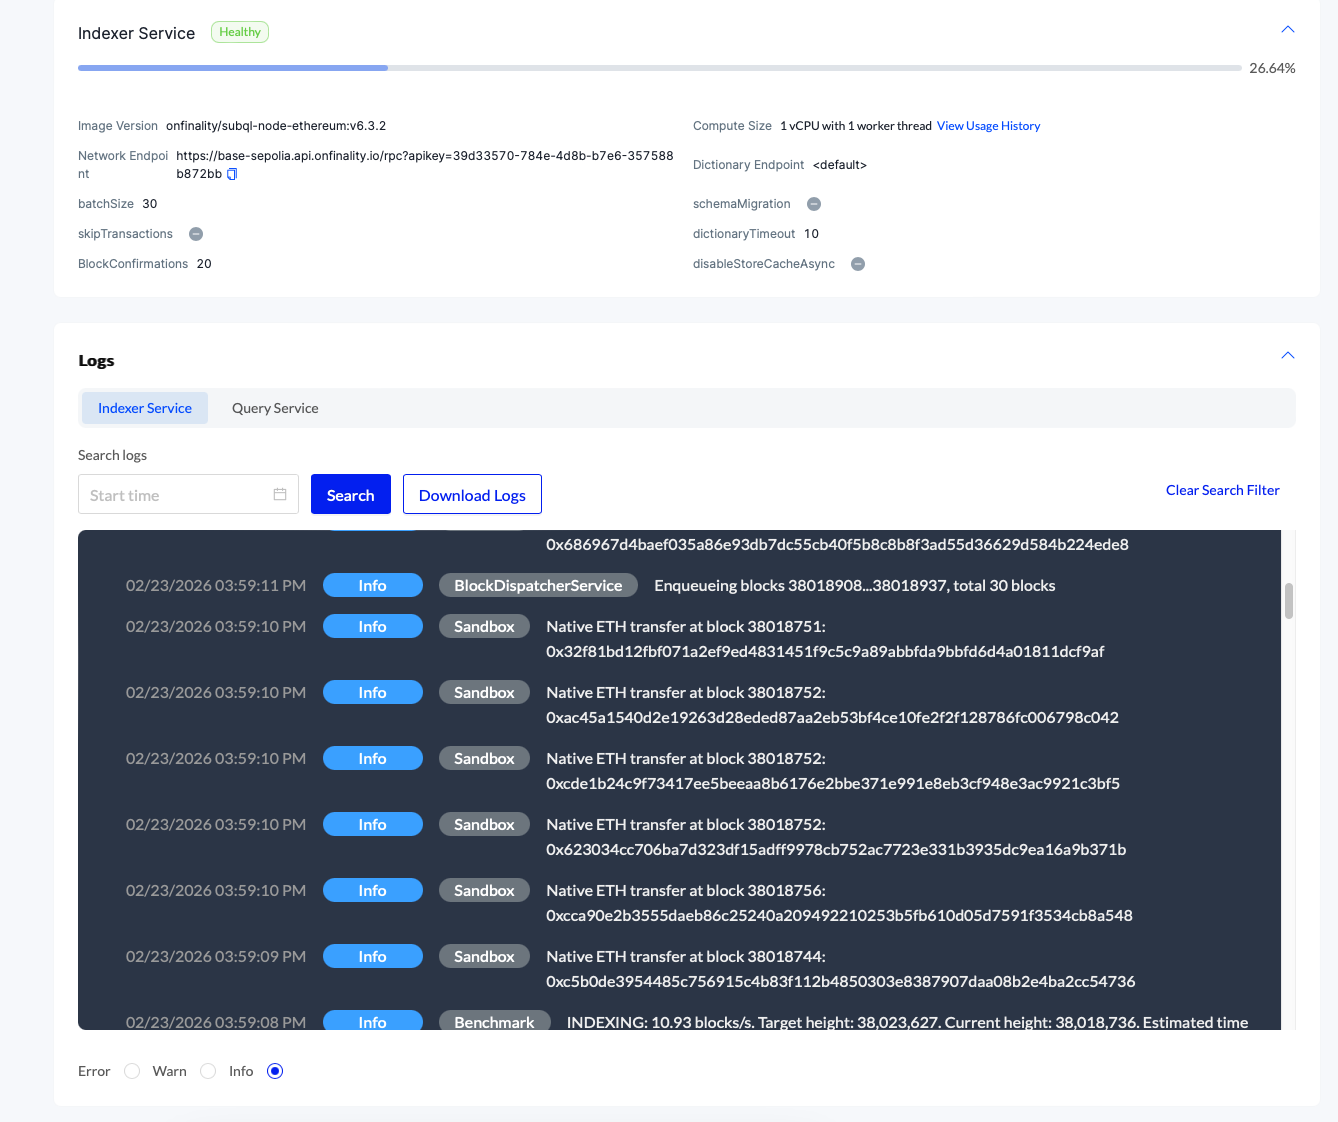
Check that your indexer is syncing and all statuses are healthy.

If the status isn’t progressing, or any services are Unhealthy, you can scroll down and expand the Logs
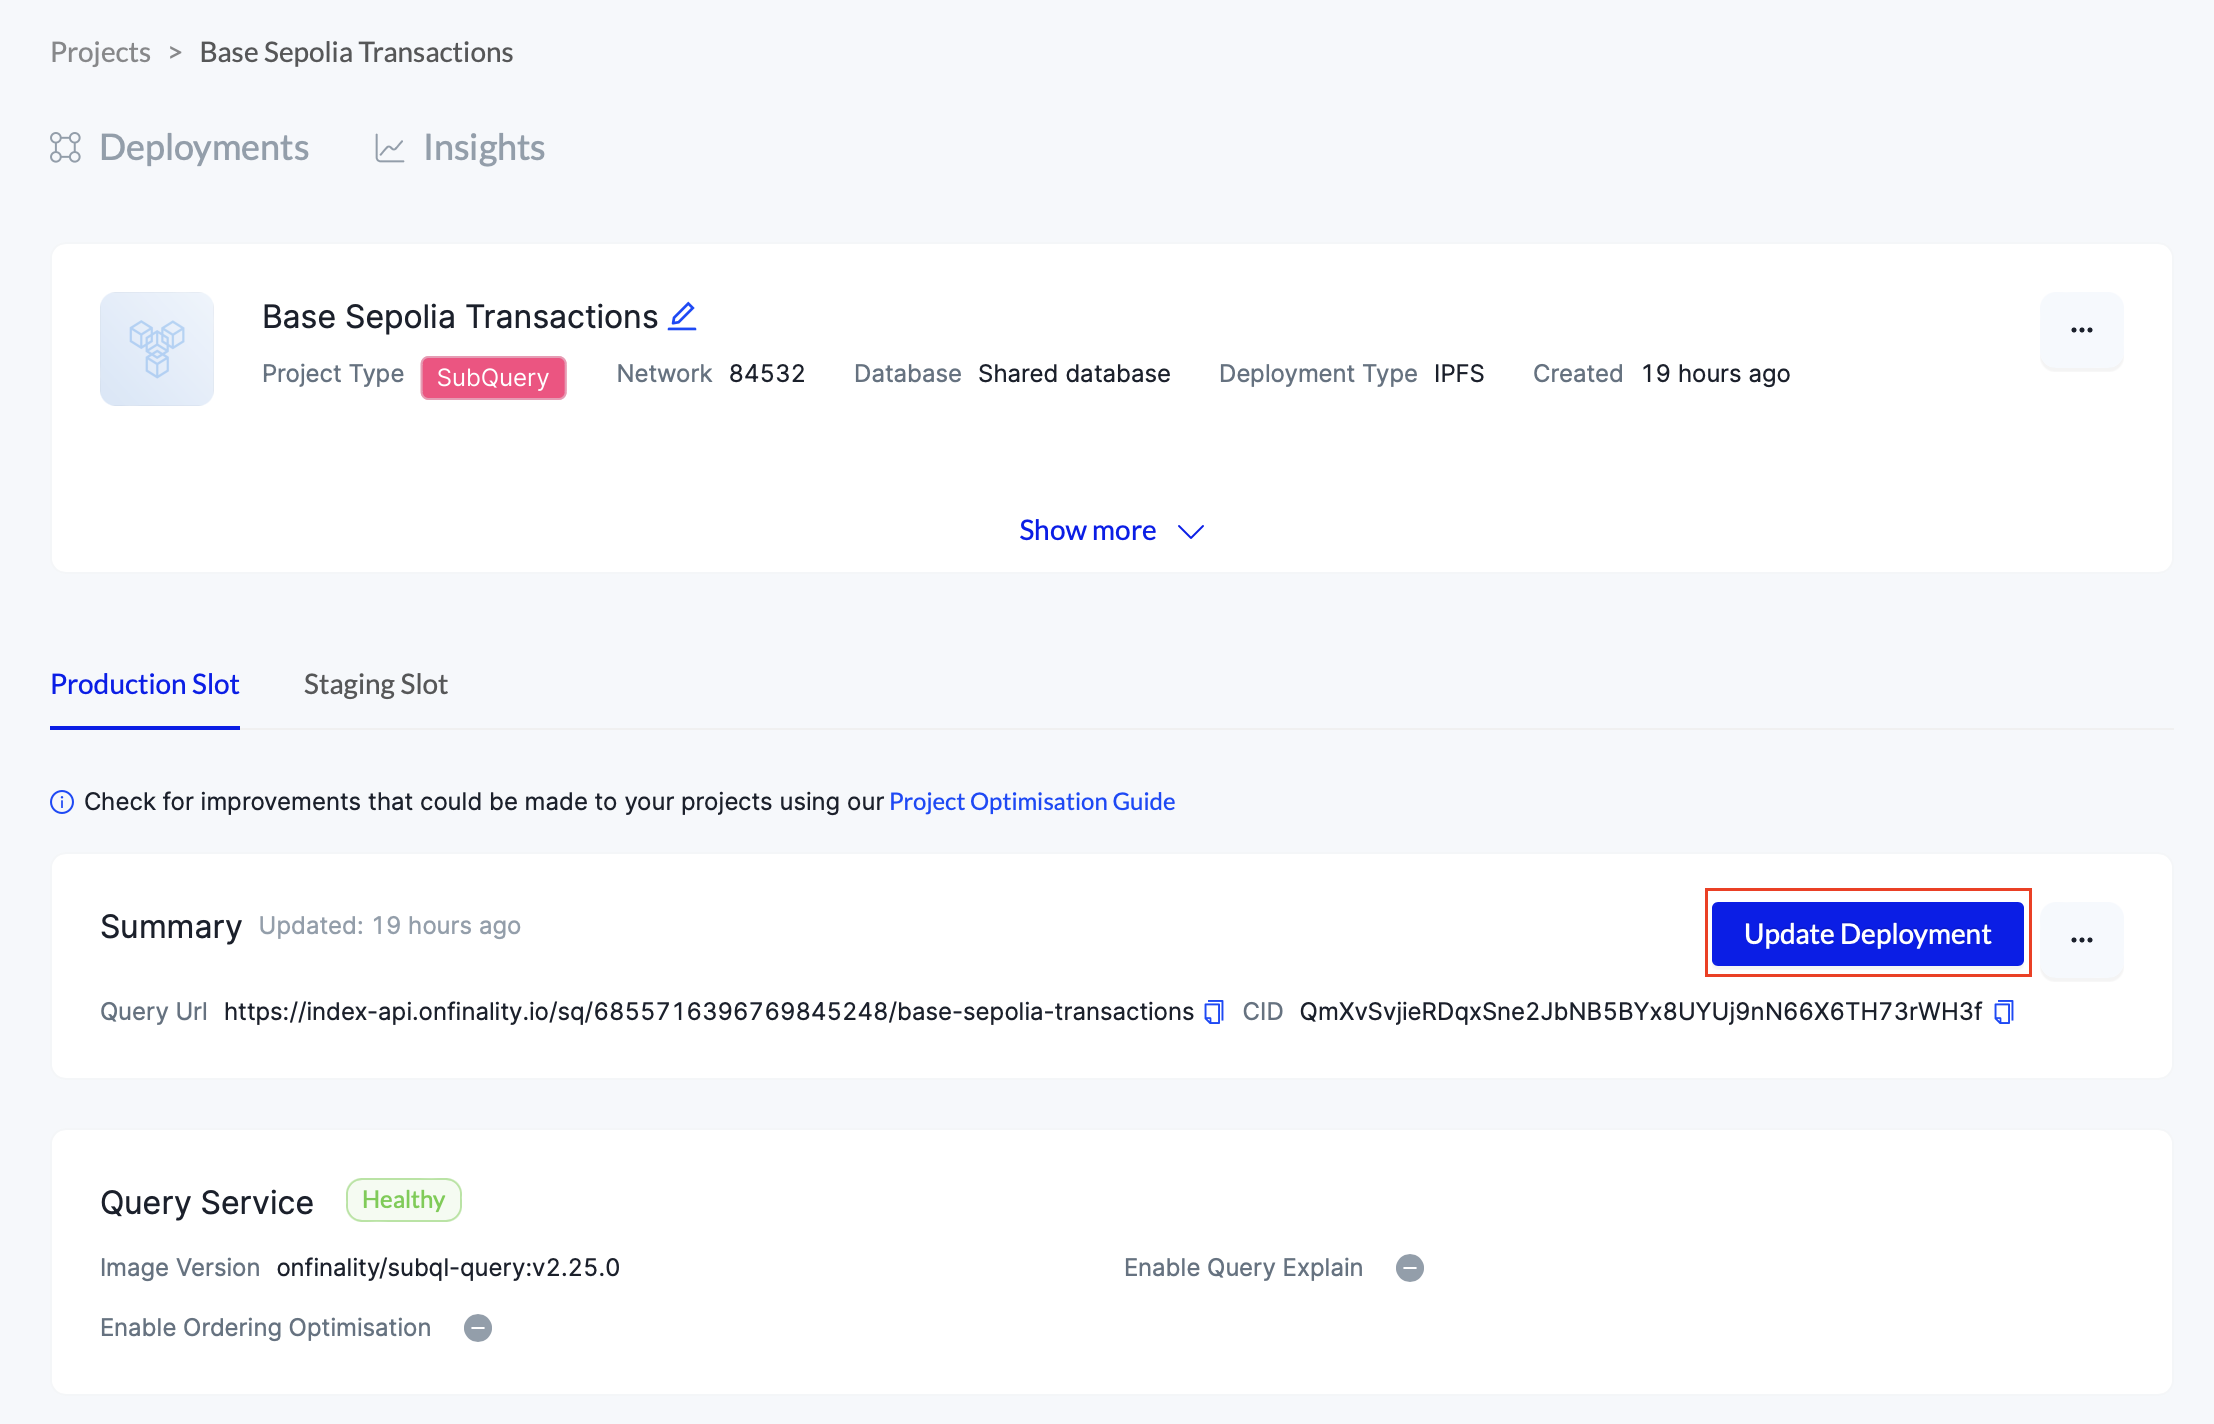
If you need to make any changes, press Update Deployment and repeat step 4 to redeploy with a new CID or updated settings.
5. Wait…
Move on to the next step while the indexer catches up. If you’ve chosen a recent block height it should only take 15 minutes.